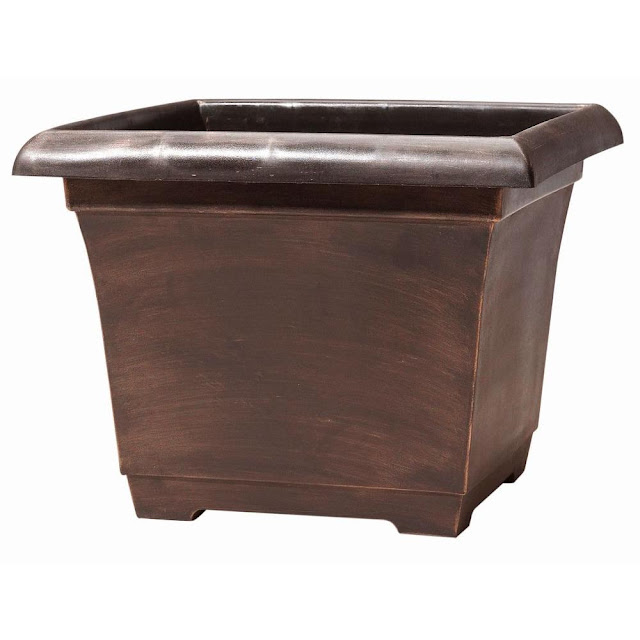
Back in the Spring, we picked up a couple 14.9" square plastic garden planters from Home Depot. While they were a good deal and looked nice, they were lacking height and just didn’t have the look we wanted on our front porch..
 |
| 14.9 in. Warm Copper Leonardo Square Plastic Planter |
Since we've been hoarding some dismantled pallet wood since last Fall, I figured it was time to put it to good use and a planter box project seemed like the perfect way to get rid of some of our stockpile.
I had a good idea of what I wanted and I found the plans for the project on Ana White's site:
Planter Box Plans. I didn't add up the cost of these boxes, because we had most of the wood and only needed a few pieces, but I'd say they were definitely less than $10 a box.
Planter Box Plans. I didn't add up the cost of these boxes, because we had most of the wood and only needed a few pieces, but I'd say they were definitely less than $10 a box.
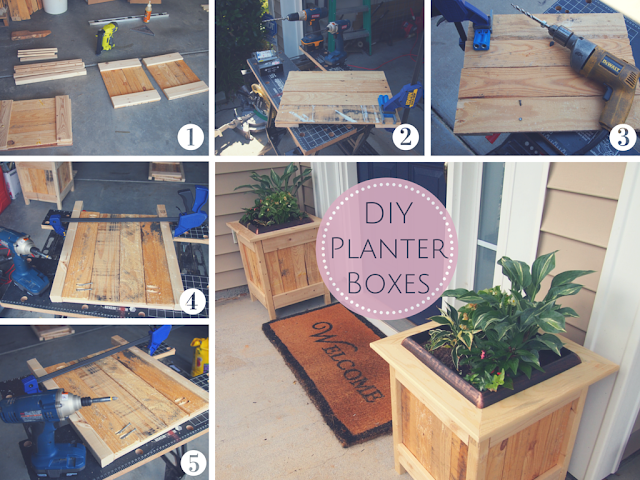
2. Glue, clamp, and nail the cross pieces to the pallet wood side planks.
3. Drill pocket holes.
4 & 5 Insert your pocket hole screws and attach the legs to your sides.
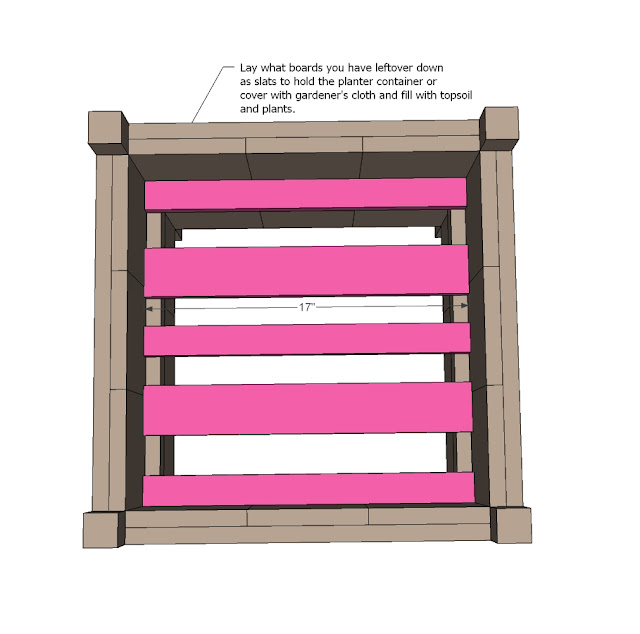
We made the legs flush with the top of our sides and made a simple frame for the top. This allowed the lip of our HD planters to sit firmly on top. *Not visible: there is a shelf inside these planter boxes to hold the bottom of our HD planters.
Once assembled, grab a lovely assistant, paint, and brushes and finish your project! :)
{Watson did get a bit of white paint on him, haha}

Something I didn't do, but wish I did: fill in the cracks with wood filler. There were a couple places that really could have used it, but I was in a rush and decided to skip it. They turned out great, but could have been even better had I taken an extra 30 minutes. On an off weekend, we are going to use wood filler in the seams, sand them down, and do a second coat of white paint.


No comments:
Post a Comment