Thursday, October 22, 2015

Autumn Hibernation Time

Ahhh it's that time of the year again. 

It's officially reached the South.  

It's cooled down.  
The humidity is gone {thank goodness}. 
Our grass is finally recovering from the terrible drought. 
The leaves are changing color.  
The skies are brilliant blue.
It's the season of Pumpkin everything, wonderful boots, and coziness.

It's also that time of the year where the mornings are so darn dark and cold 
that I cannot bear to get out of bed and into the shower.  

I love that in the South, summer seems to last for 6 months of the year 
and spring and autumn last for a couple months as well; 
winter is the shortest season.
It was one of the BEST discoveries I made the first year living down here. 

The simple fact that we get adequate warm months, 
makes it easier to survive the change of seasons.

With that in mind,  I still find it funny how I turn into a complete bear this time of year. 
Walks at 5:00am with the dogs are not so bearable. 
It's totally dark and cold,
and getting dressed takes more effort and more layers. 

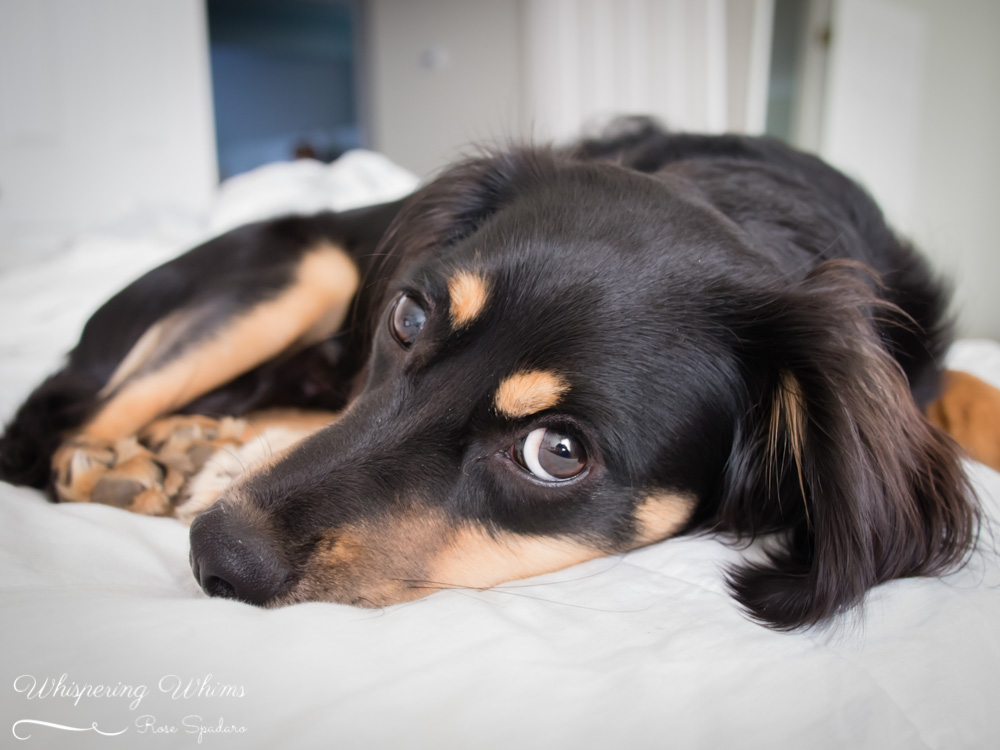
Pippa, our eldest fur baby, is just like me.
Alarm goes off and she is straight under the covers. 
Adamantly denying that it is time to wake up.
The struggle is real. 

I remember in kindergarten we were instructed to all bring in a little stuffed bear,
and in an effort to teach us about animals that hibernate
our stuffed animals had to stay in our little cubbies until spring.  
{Except during nap time.. then our bears could come out and cuddle.}
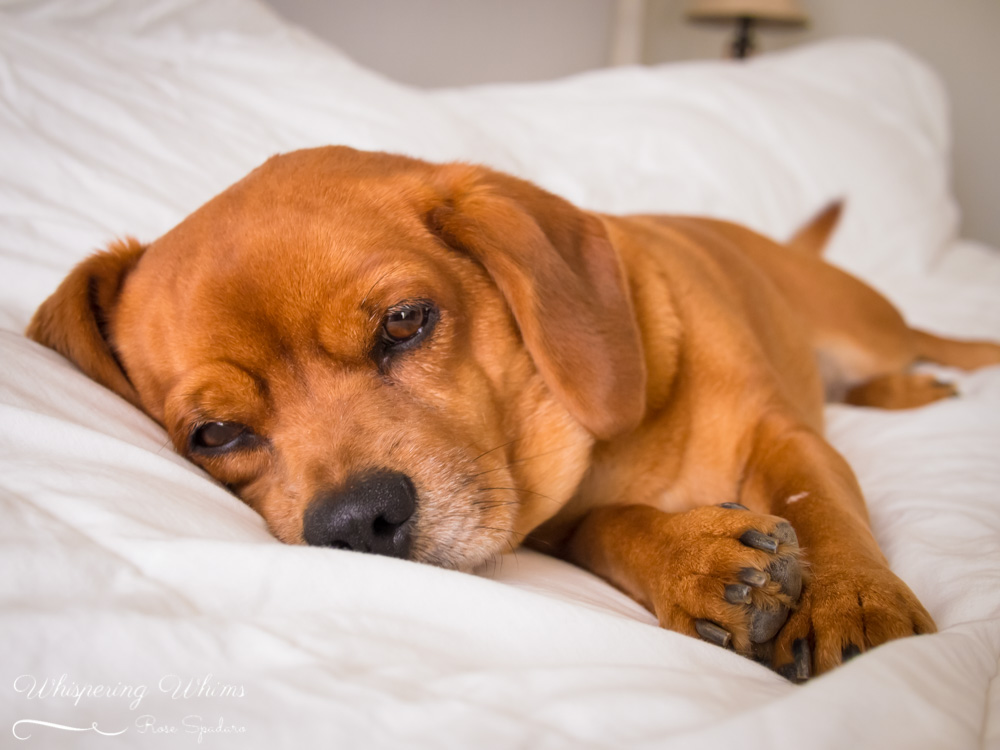

This will be my little cuddle bears and me until next year...


On a bright note... I heard it snowed in New York last weekend.  haha :) 

Wednesday, October 21, 2015

Wander {Wednesday} | Queenstown, NZ

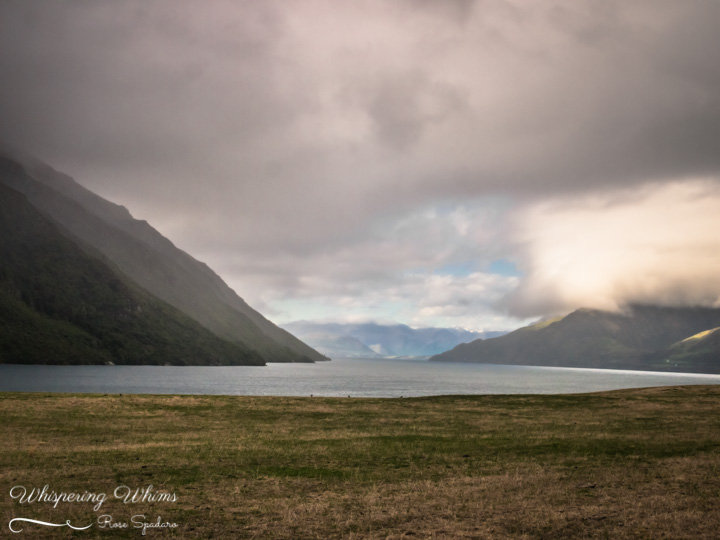
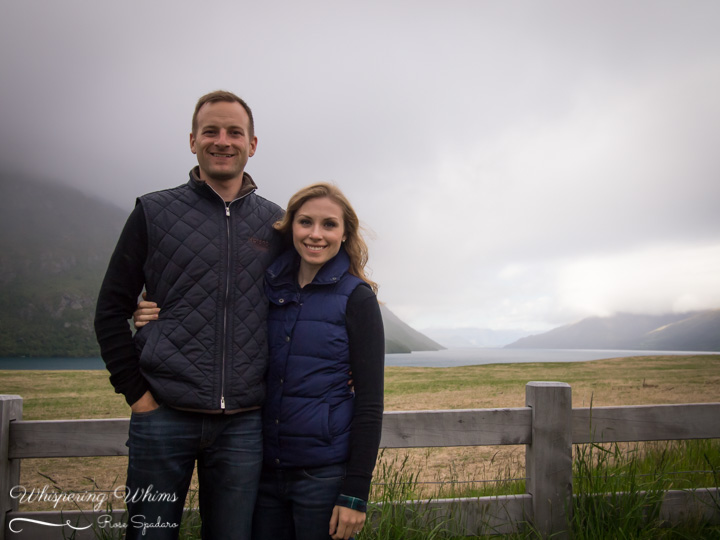
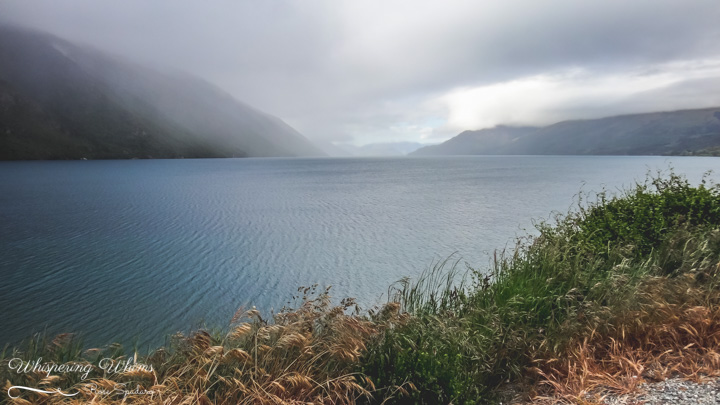
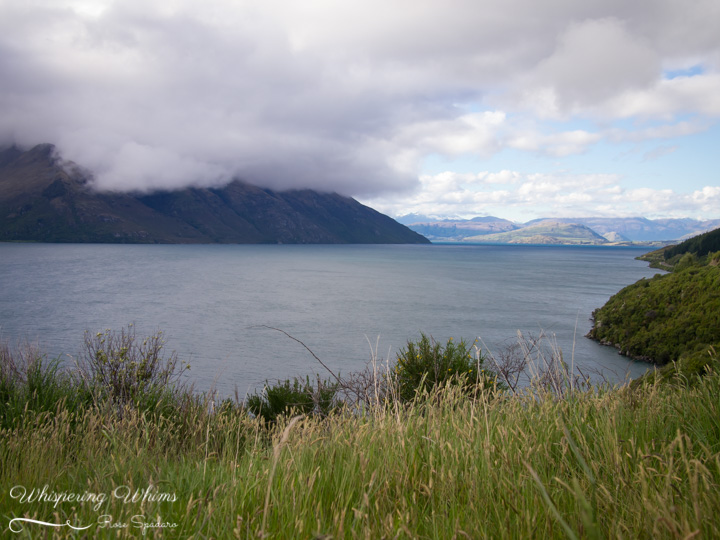
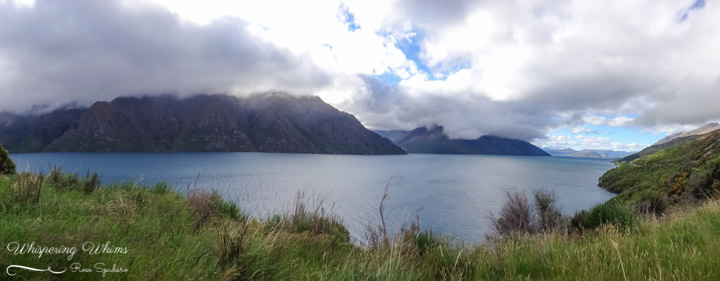
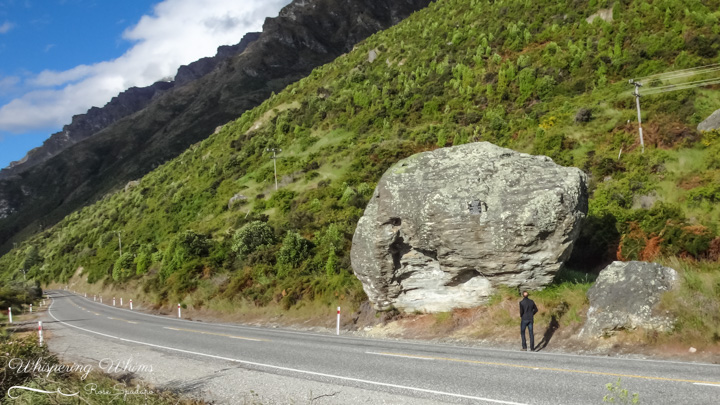
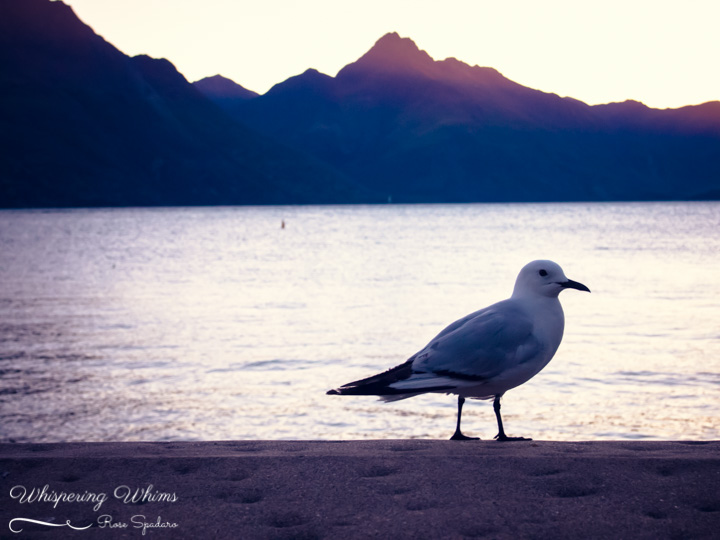
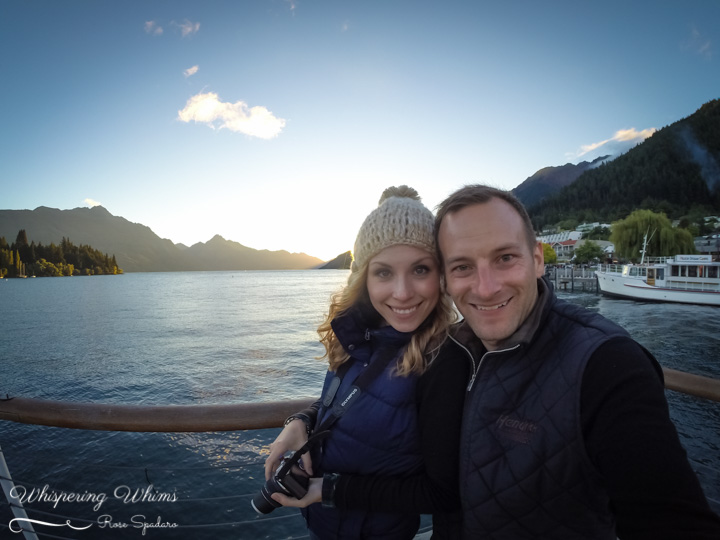
Queenstown was supposed to be a drive by on our way to Wanaka.  As we drove higher into the mountains and then into the city, the temperatures kept steadily dropping.  I'm not sure we were originally even planning on getting out of the car, but on our drive the views just kept getting more breathtaking. The clouds were slowly clearing and when we finally reached the city of Queenstown, there were only traces of clouds in the brilliant blue sky.  The city felt entirely cozy during this golden hour, with the dark expansive lake, rimmed with pine trees, and nestled between the sun-kissed mountains. We enjoyed every ray until the sun finally set, then we gorged on Indian food.  Perfect way to end the evening.

Queenstown, NZ | Whispering Whims


Queenstown, NZ | Whispering Whims

Queenstown, NZ | Whispering Whims

Queenstown, NZ | Whispering Whims

Queenstown, NZ | Whispering Whims

Queenstown, NZ | Whispering Whims

Queenstown, NZ | Whispering Whims

Queenstown, NZ | Whispering Whims


Queenstown, NZ | Whispering Whims

Queenstown, NZ | Whispering Whims

Queenstown, NZ | Whispering Whims

Queenstown, NZ | Whispering Whims

Queenstown, NZ | Whispering Whims

Queenstown, NZ | Whispering Whims

Queenstown, NZ | Whispering Whims

Queenstown, NZ | Whispering Whims

Queenstown, NZ | Whispering Whims

Queenstown, NZ | Whispering Whims

Queenstown, NZ | Whispering Whims

Queenstown, NZ | Whispering Whims

Queenstown, NZ | Whispering Whims

Queenstown, NZ | Whispering Whims

Queenstown, NZ | Whispering Whims

Queenstown, NZ | Whispering Whims

Queenstown, NZ | Whispering Whims

Tuesday, October 20, 2015

DIY Wine Cabinet

You know what is the best feeling?

When you come home from a trip to find that your husband finished one of your projects for you...❤!!!

Yes, my husband is a keeper.  

Last Monday, I came back from a trip to NY to visit family, and I did a double take when I walked into the kitchen.  The wine cabinet project that I had left 75% of the way completed, was finished!!!
 {Happy Dance!}

DIY Wine Cabinet - Above the Fridge | Whispering Whims


Since we moved into our home 2 years ago, I have been planning this project, and in August finally decided to just go ahead and have at it.

On one of my Friday's off, I woke up and found where we keep our handsaws, then proceeded to climb on top of our refrigerator and remove the cross piece of the cabinet. :)  All the while, the Mister is laughing and trying to get ready to leave for work.  Just a normal scene from our daily lives.  Haha!

Anyway, that weekend we got everything prepped, primed, cut, sanded, and fitted.  It sat like this for another week, until I was able to caulk the seams... but then I noticed that the front pieces of wood were overhanging the cabinet ever so slightly, which meant we needed to do quite a bit more sanding... have you ever gotten to this part of a project where you are SO close to being finished, only to then require another few hours of effort to seal the deal?  Well, occasionally, when this happens, especially on a Sunday, I just need a break. 

So the project sat, and sat, and well... lucky for me it *magically* got finished while I was out of the house.  AND, there was not a speck of sanding dust to be found.  Only a beautifully finished wine cabinet that looks like it could use a few {several} more bottles! 

Aside from the minor issue with the fit, this project was pretty simple. 

Materials:
5/8" Plywood
1"x 2" boards (we had some extra from another shelf project)
Caulk
Primer
Paint


Tools Used:
Miter Saw
Brad Nailer
Orbital Sander

Project Total: $30-35

Here were our construction steps:


  1. Remove cabinet doors, shelf, and cross piece. 
  2. Clean cabinet interior
    DIY Wine Cabinet - Above the Fridge | Whispering Whims
  3. Prime cabinet (2 coats) 
  4. Paint cabinet (2 coats)  Let this dry completely before assembling the wine shelves.  If the paint has not thoroughly cured, it will peel.
    DIY Wine Cabinet - Above the Fridge | Whispering Whims
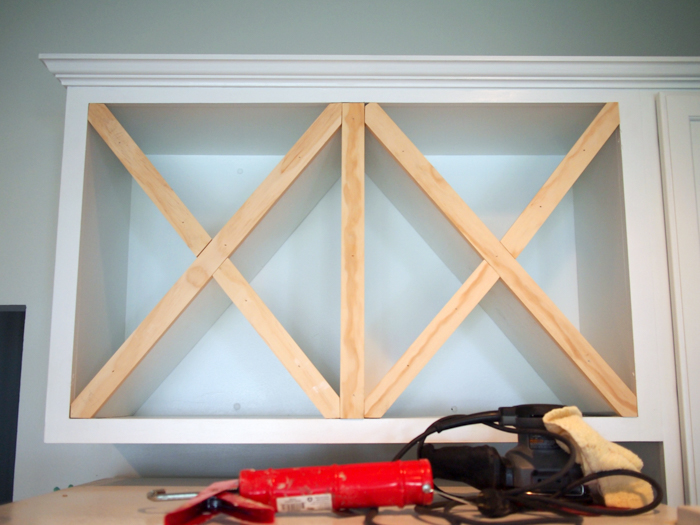
  5. Cut the three vertical shelves from the plywood.  We put one vertical piece of wood in the center to divide the cabinet space and make two X shelves for wine.  We used two additional vertical pieces of wood to make the sides of the cabinet flush with the cabinet edges (note: in the image above, the two unprimed sides).  This allows the X shelves to slide into place, flush with the edges.
  6. Sand, prime, and paint, then secure in place with Brad Nailer and Liquid Nail.  We used only glue for the side pieces.  For the center piece we used liquid nail along the top and bottom and also nailed it into place.
    DIY Wine Cabinet - Above the Fridge | Whispering WhimsDIY Wine Cabinet - Above the Fridge | Whispering Whims
  7. Once the vertical shelf is in place, measure the length of the cross pieces you will need.  We measured and cut our wood to length first.
    DIY Wine Cabinet - Above the Fridge | Whispering Whims
  8. Next we determined the angle of the end cuts by holding our cross boards up to the edge of the cabinets and marking the boards where they touched (the geometric math only works so well). 
  9. After the end angles were cut, we inserted one piece at a time and then marked the middle of the board where the middle notch needed to be cut.  This part is what the experts call "custom cabinetry," which is really a bit of trial and error to make sure you cut and chisel out the space for a perfect fit.
    DIY Wine Cabinet - Above the Fridge | Whispering Whims
  10. When all cuts were made we slid all pieces into place to make sure they fit well.
  11. Prime and paint the cross shelves.
    DIY Wine Cabinet - Above the Fridge | Whispering Whims
  12. Insert into the cabinet and caulk all seams.
  13. Measure and cut the 1"x2" boards to finish the edges. 
  14. Attach edges with Brad Nailer
    DIY Wine Cabinet - Above the Fridge | Whispering Whims
  15. Fill holes with caulk.
  16. Paint one last coat to cover the caulk seams and edges.
    DIY Wine Cabinet - Above the Fridge | Whispering Whims
I'm so happy to have this project finished and also to have a new place that's out of the way to store some wine! It's great to gain a bit more counter space.  Time for some entertaining! ;)

All images and text are property of Rose Spadaro and may not be reproduced without permission. This site is powered by Blogger and was made a little lovelier by The Sunday Studio.