Friday, March 13, 2015

Bathroom Shelf: Just cut a hole in the wall!

I might be a bit of a product junkie.
I like lotions, and soaps, and masks...
but my bathroom doesn't have nearly enough storage! 

So, what's a girl to do?
Well cut a hole in the wall of course! haha
(or get the husband to cut a hole in the wall!)


Right before we left on our trip down under (November/December), 
I got the brilliant idea that a built in bathroom shelf is exactly what I needed.
And no, an IKEA shelf would not do.  No sir, I needed a hole in the wall!

A hole is exactly what I got! 
And it stayed a hole for about a month until we got back from our trip. 
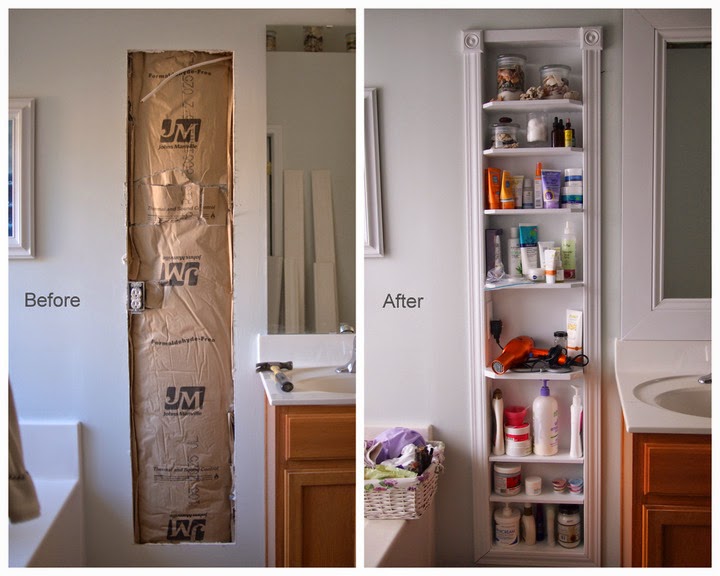

But it was finished around Christmas time and
I'm so happy to not have a pile of unorganized products all over the counter.
(I know Paul is happy too!)

We even framed the bathroom mirror while we were at it! 
Next:  Paint the bathroom cabinets and install some new light fixtures. 


I can even fit some of my beach treasures and decor now!
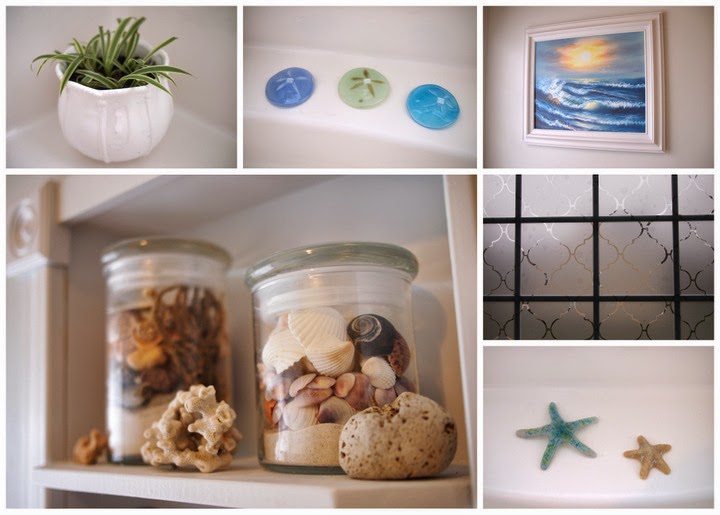
The glass sand dollars and starfish we picked up on our trip to Oregon in 2013, the painting we got in RI last summer,
and the shells are a mix of treasures from NC, FL, RI, and Australia.  I'm a beach picker for certain.

We also put up some transparent privacy screen for the bathroom window.

DIY Pottery Barn "Addison" Style Headboard


Fireplaces are very romantic and a gorgeous mantel can really create a lot of interest in a room,
 which is why I've been in love with this mantel style headboard for a while.  

Every time I receive the Pottery Barn catalog in the mail, 
I comment to Paul that I really need to buy/make/have this Addison Headboard
Mainly, he ignores me... 
or says something to the effect of "once we finish other projects." haha

BUT, this December he finally said yes. :) 

We found this Ana White plan and DIY'd it for about $150.00.

It took us about 2 days to cut, assemble, and paint.  
Since it was chilly, it resided in our living room while I painted everything.

Pippa obviously was the project manager. --  Inspecting every detail.


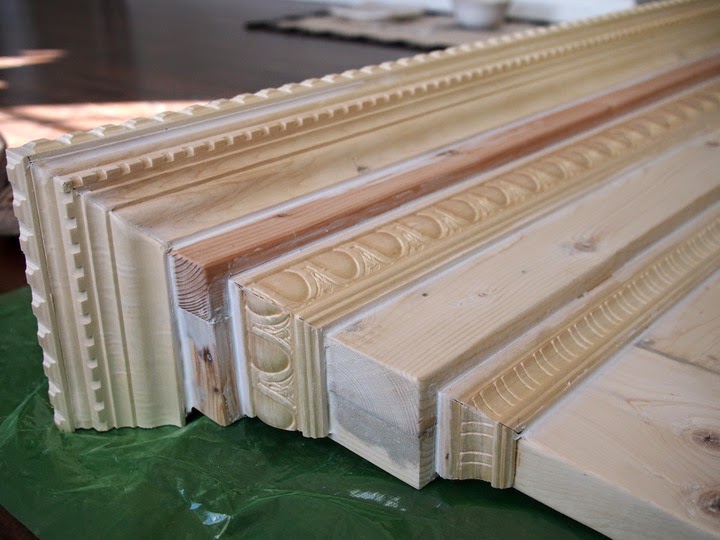
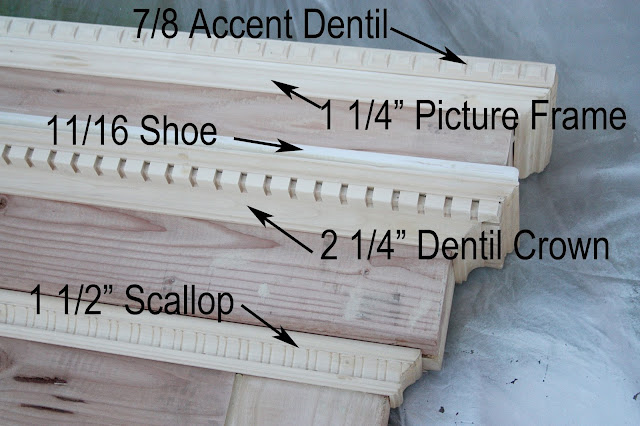
Moulding List:

  • 7/8 Accent Detail
  • 2 1/4" Dentil Crown
  • 2 1/2" Emboss Casing/Chair Rail 
  • 1 1/2" Scallop

* We got all of these from Home Depot (in case you are trying to find the same materials).


We wood filled, sanded, and caulked all the cracks, gaps, knots, and holes.


We omitted the 1 1/4" Picture Frame and 11/16 Shoe from our headboard design.
We moved our Dentil Crown piece up beneath the Accent Dentil.

In the original plans where the Dentil Crown is used, we placed the Emboss Casing/Chair Rail.

Image from Ana White

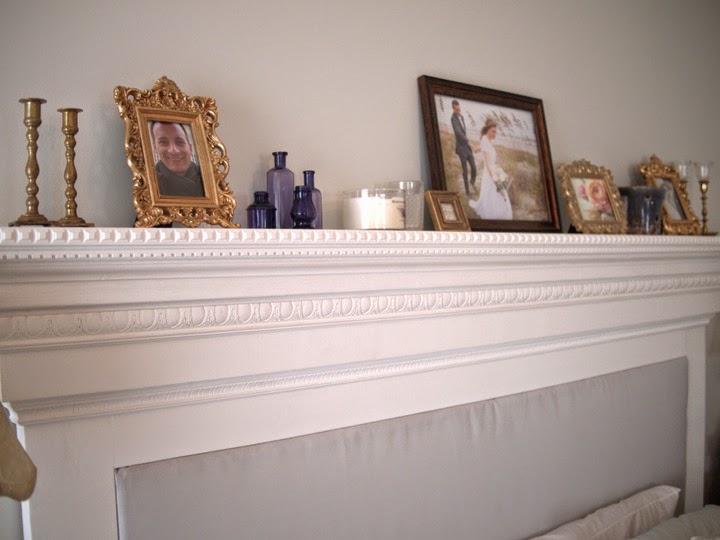
We're quite pleased with the finished product and we were so excited to set it up!
We ended up attaching it straight to the wall.
It would be quite a headache if it were to fall on us in the middle of the night.


 Over the summer I picked up a few antique amethyst glass bottles at a local antique store. 
This stuff is pretty neat.  
It wasn't made to be purple, but overtime turns purple from reaction to light.

They've been hanging around in storage, because I couldn't figure out what to do with them.
They finally have a spot! :)

Every time I see them I think of searching for beach glass in RI.  
Once in a while you'll find a real gem; purple glass! It's always a really exciting and special find.


Tuesday, December 23, 2014

Piano Makeover


I'm excited to present a project we finished in October,
but didn't have time to post before we left for our Australia/New Zealand trip.
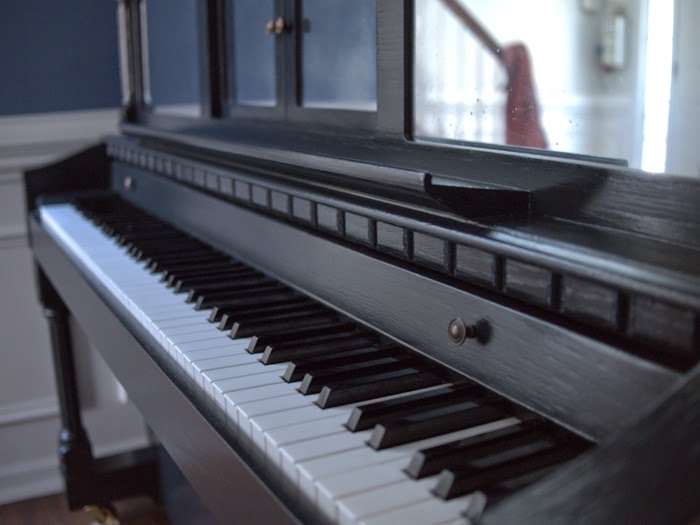
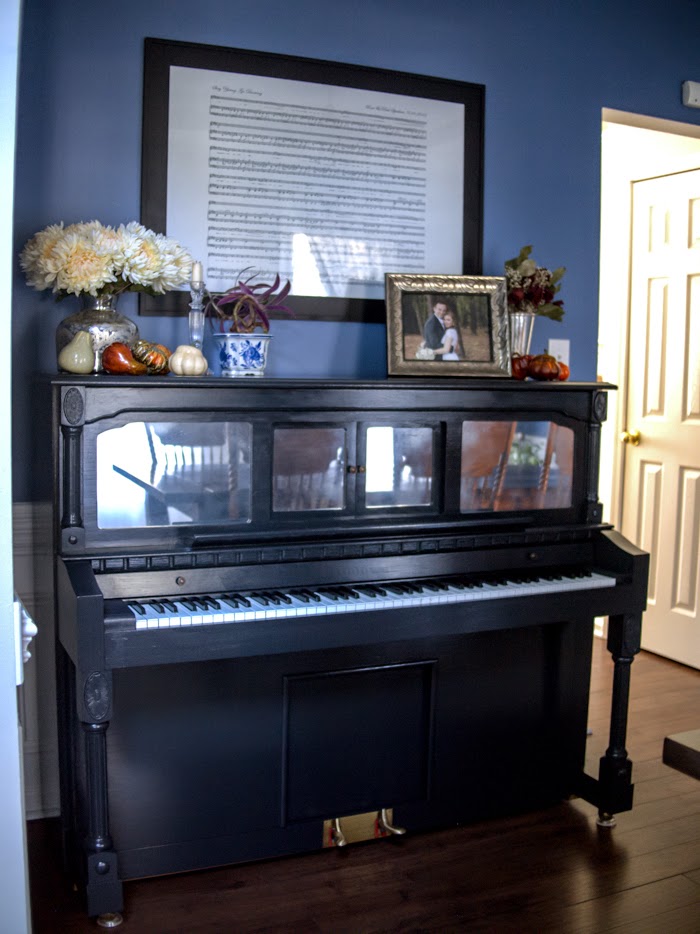
The makeover of our player piano! :)

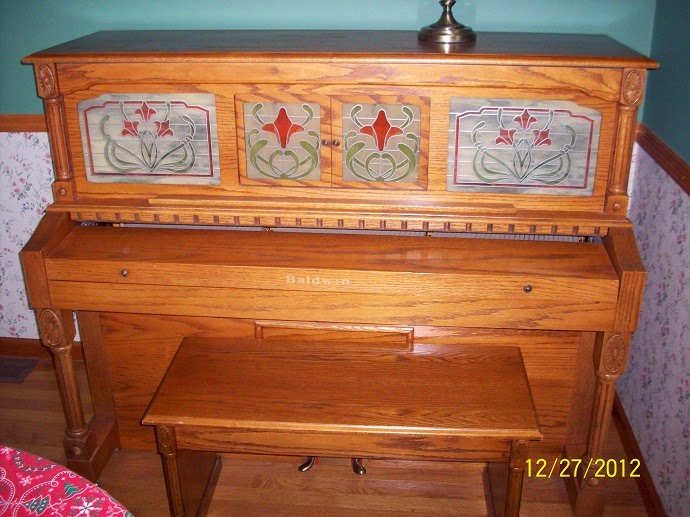
The honey oak was not working with the other wood tones in our house, 
especially since we finished redoing the floors last Christmas.
Here is a before picture. Back when it resided in Paul's childhood home. 


I know that a lot of people probably hate the idea of painting over nice wood,
and probably even more so painting a piano, 
but it works for us and we are SO pleased with the results!


We started by dissembling the pieces that come apart easily.
Next we made sure everything was dust/hair free [pet's shed so much!].

I researched painting a piano extensively and exhaustively!
Some people sanded and stripped their piano, then primed, painted, and finally sealed it.
This just seemed like more than I wanted to take on.

Others I saw taped off the keys and other areas that needed to stay paint free, 
and then primed the piano with a spray paint primer,
Then they painted and sealed the final coat.

Again, this seemed like a lot of work.  
I knew there had to be an easier way.

I had been reading a lot about chalk paint, 
Annie Sloan, DIY with plaster, etc...
and it seemed possible that I could paint our piano with 2 thin coats, 
WITHOUT priming! 
YES! This seemed like the way to go! :)


Closer look at our framed sheet music of our wedding song. :)
I went to a local antique store and picked up some
Then swung by Michael's and picked up some India Ink.
(I had read that if I mixed the ink into the chalk paint I could get the Graphite color a little darker).
It worked out well, though I do warn that it was messy!
I suggest a bigger container to mix in.

I decided it would be best to paint the piano bench first, 
since any mistakes or regrets would be minimized.
Luckily, we loved how it turned out, and went ahead painting 2 coats on the piano.

We finished by applying 2 coats of polycrylic, 
instead of the wax, since we wanted the top coat to be as resistant as possible.

The next part of this project was replacing the "stained glass" inserts, 
that no longer matched the piano and also did not match our decor.
We thought about getting some real stained glass made to replace them, 
but since we were eager to get this project wrapped up, 
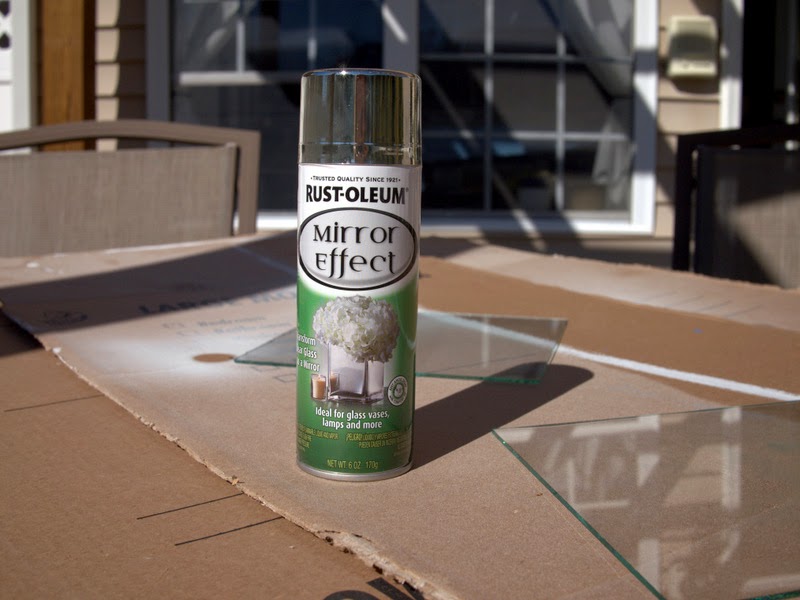
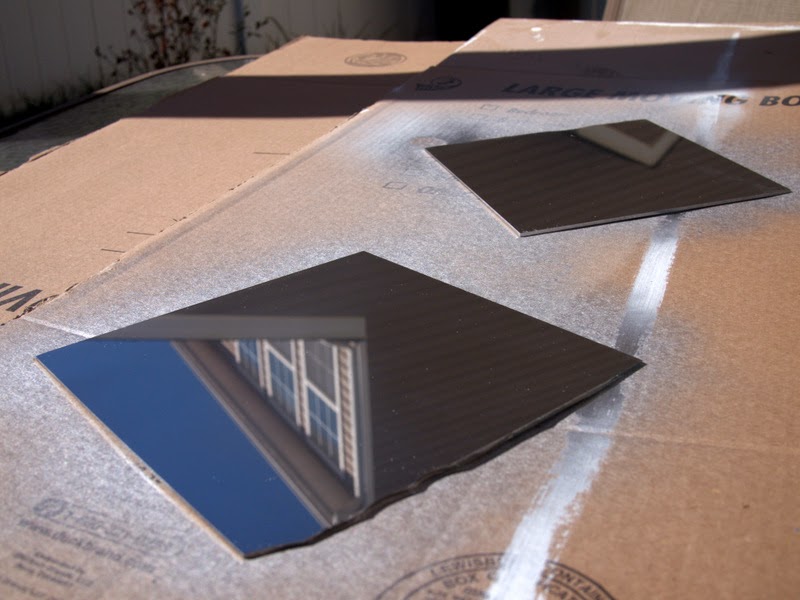
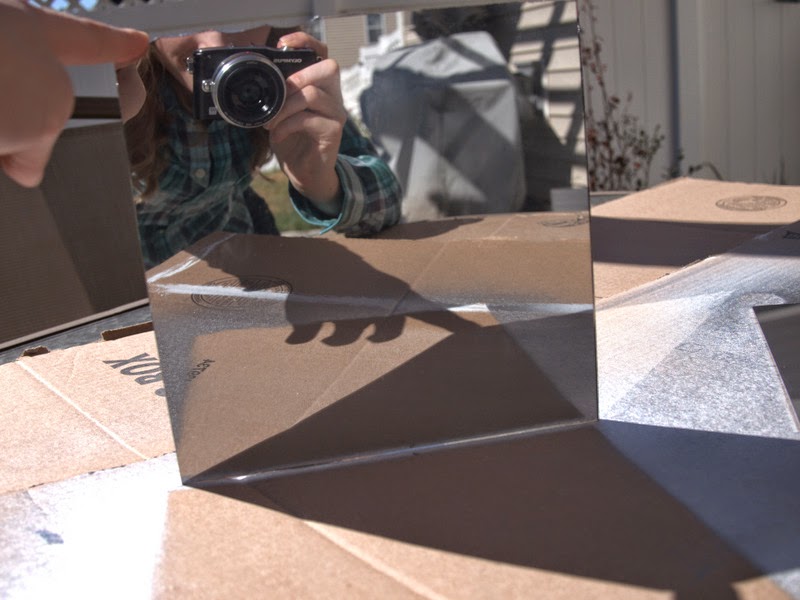
we opted to cut our own glass inserts and give them an antiqued mirror effect
with Rust-oleum's "Mirror Effect" spray paint and a Clear top coat. 

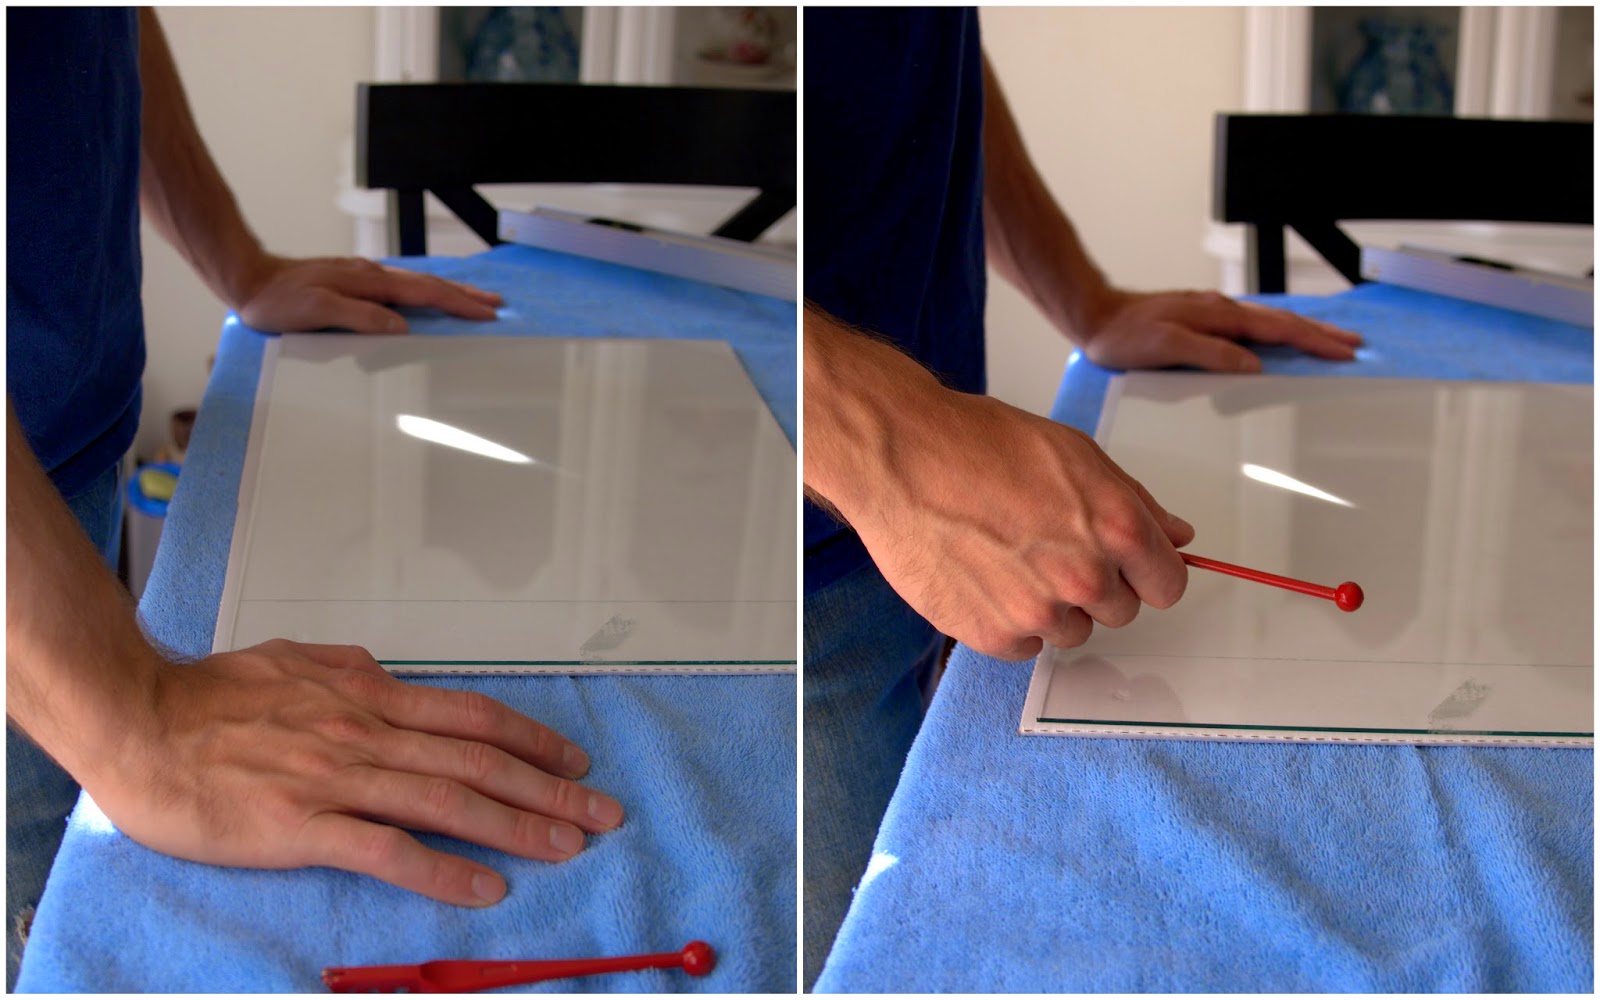
Cutting the glass was the most difficult part,
and I bet Paul could write a full post on everything he learned!
"Simply", score the glass, tap evenly down the line, and then break over a straight edge.
Easy as that...haha


It comes out very reflective and just like a mirror.
 We ended up wanting something that looked a bit more vintage, so we coated the back with a clear poly spray and it gave it a foggy aged look.


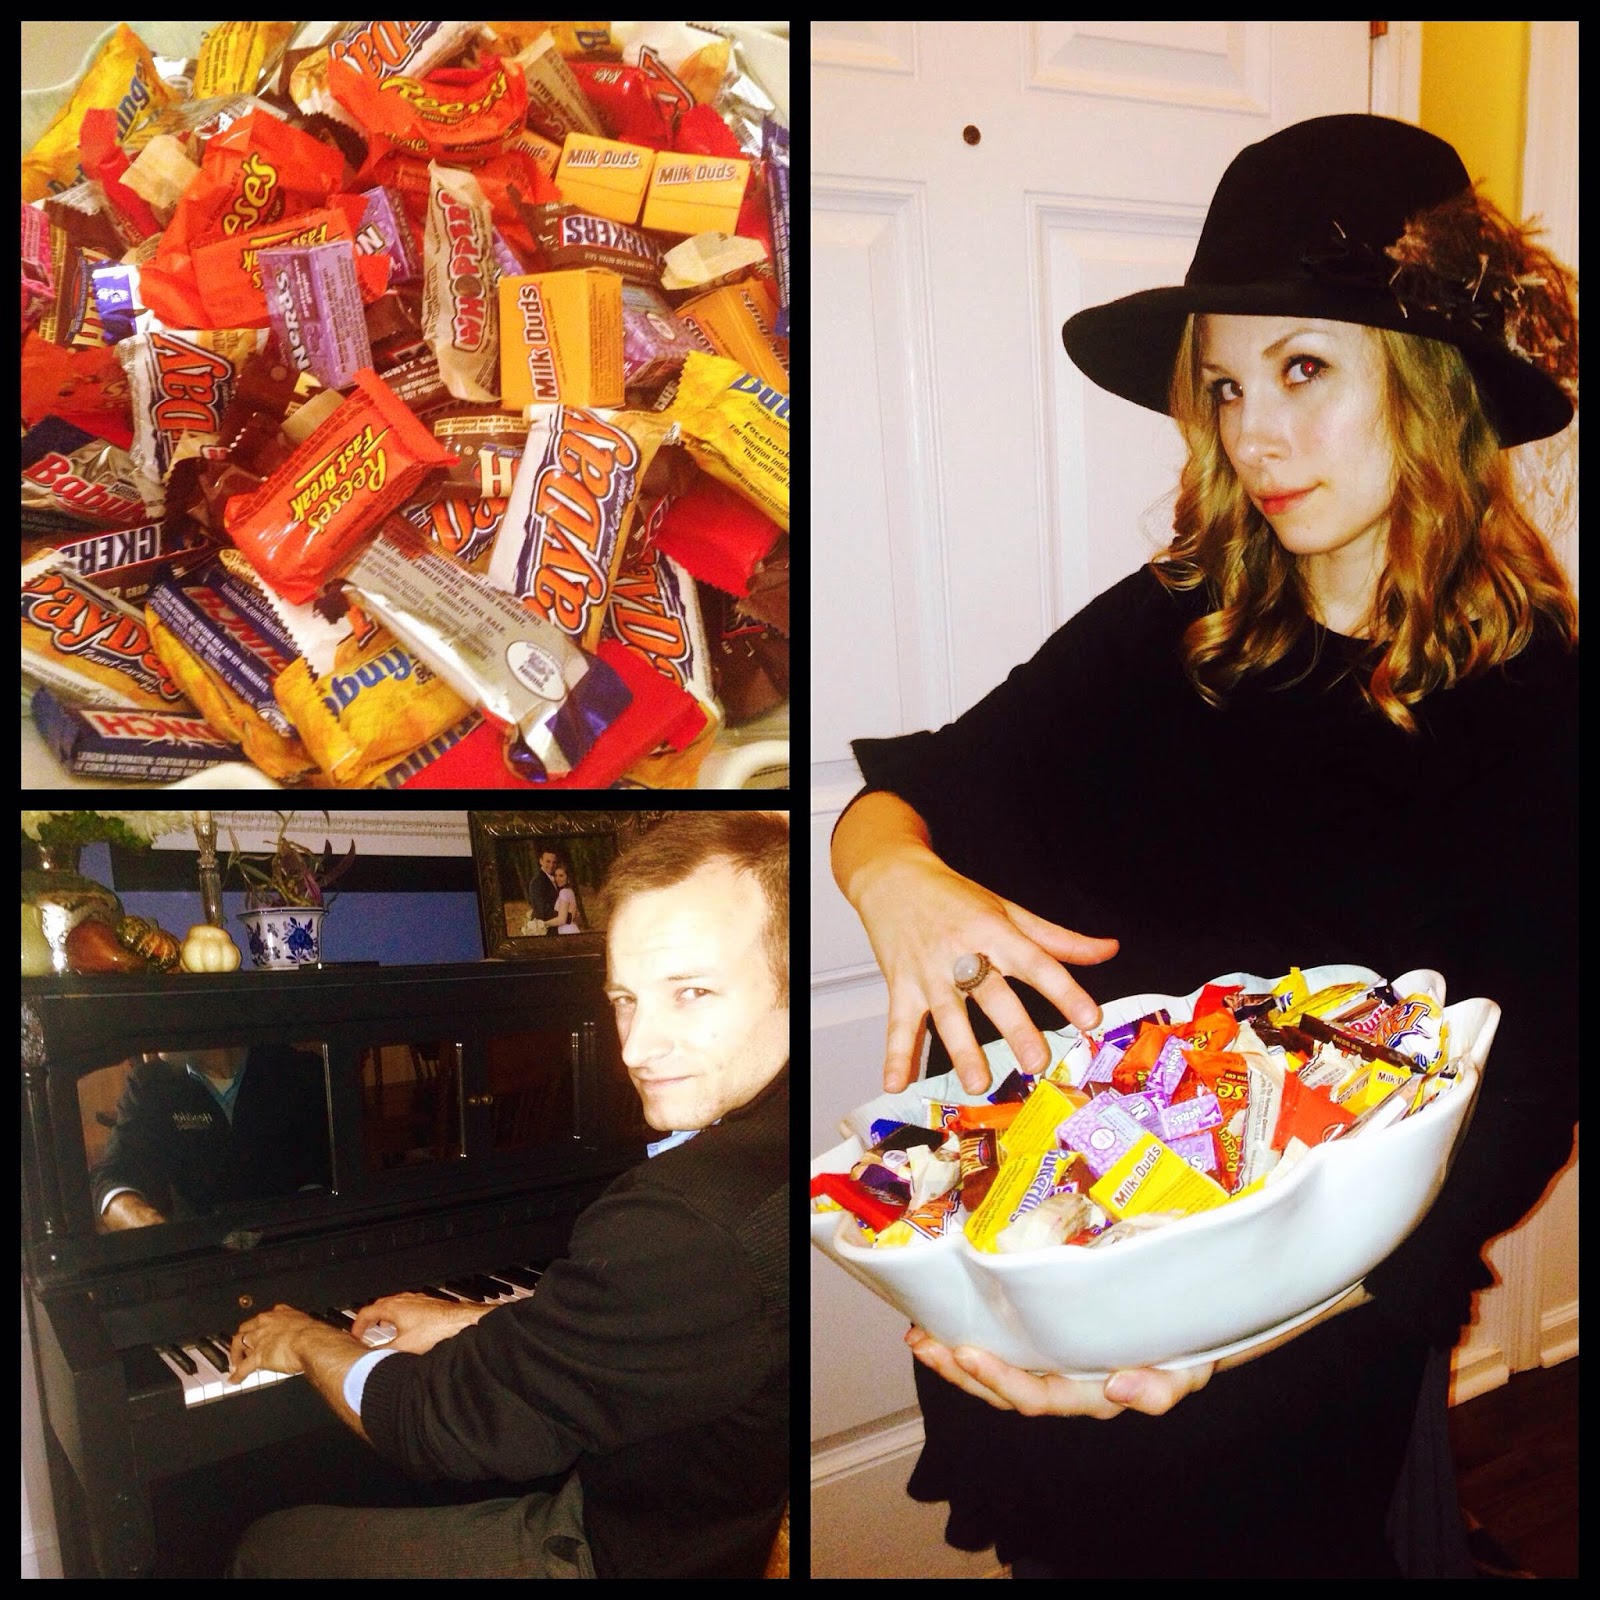
The whole thing was ready in time for Halloween! :)  
The mister played spooky music every time I greeted little trick-or-treaters at the door!
Surprisingly, it wasn't the little ones that were spooked.. it was the teens! haha


All images and text are property of Rose Spadaro and may not be reproduced without permission. This site is powered by Blogger and was made a little lovelier by The Sunday Studio.