Monday, October 20, 2014

DIY Farmhouse Table | The Unveiling


Mark farmhouse table off our list of unfinished projects! :)
Construction post [here].


This beauty is ready for the holidays!
Let the "fine" dining begin! ;)


Next to go is this light fixture, which amazingly looks nice pictured below,
but in real life casts a terrible yellow color in the room due to the faux stained glass.

Also, need to decorate the empty wall.
The dining room is getting there!


Sunday, October 19, 2014

DIY Farmhouse Table

In September, I finally convinced the Mister to help me tackle 
some dining room DIYs that I've been dreaming about. 

Ever since I saw Ana White's Farmhouse Table design on Pinterest, 
I knew that we were definitely capable of building it, 
and also that it would save us [some travel] money 
instead of buying something similar at Pottery Barn.
Pottery Barn - Benchwright Fixed Dining Table $1,499

Restoration Hardware - Reclaimed Wood & Zinc Rectangular Dining Table $1,395


We took some measurements of our dining room and were surprised to find
that the room is large enough to fit the table dimensions (85x38x30) described in the plan.
Which was surprising because our previous dining table was smaller,
but with the leaf in it didn't allow much space to pass around it comfortably. 
Partly because we keep our piano in here, but there really isn't a better place for it...
so, build a new table it is! haha


We used straps to hold together the breadboards and middle section of the table 
while we glued and screwed.

The base all put together and our lovely little helper. 

Checking the dimensions.  Not necessary, but I like a visual. :)
  
We used wood filler between the planks and in the deep knots.  

Since we were going for a more finished look and not so much reclaimed, 
we loved the how the filler looked after we stained and sealed the top.


We sanded heavily and made sure everything was as smooth as possible.

Wood conditioner before the stain.

We had some gel stain already, Dark Walnut, but it wasn't dark enough.
We ended up using Kona by Rust-oleum and it covered in one coat.

 We finished with 3 coats of Polycrylic.
I meant to use Satin, but ended up using Semi-Gloss.
Eventually, I will re-coat it with a Satin finish.

Click [here] to view the final table.


Based on Ana White's Instructions and Cut List, here was our purchase list:
(figures are rounded)

Heat Treated Wood:
$12 (4) 2x4@ 8 feet
$9 (2) 2x8 @ 12 feet
$6 (1) 2x8 @ 8 feet
$8 (1) 2x10 @ 8 feet
$55 | (1) 4x4 @ 10 feet **

**This was difficult to find.  We couldn't get it at Lowe's or Home Depot,
but found a small local wood yard.

Other Materials:
$9 | Rust-oleum Kona Wood Stain
$18 | Minwax Polycrylic
$10 | (2) Pocket Hole Plugs
$4 | 3" Foam Trim Roller
$8 | (2) 2.5" Pocket Hole Screws
$6 | 3" Wood Screws

Total Cost - $145


A note about our finish:

Step 1: Apply the wood conditioner with lint free rag.  Make sure to wear some gloves.
Wait 15 minutes or as instructions describe.

Step 2: Apply the stain evenly with lint free rag, with the grain. Again, wear some gloves.
With the Kona stain it only needs 1 coat to achieve the level of darkness.

Step 3:  We let it dry overnight and applied the polycrylic sealer, 3 coats. We applied it
using the 3" Foam Roller in long rows, with the grain, and then used 3 inch foam brushes
to follow over the row in one long smooth swipe to brush out the bubbles.
We found this method to be very effective in creating a smooth and even coat.

*The polycrylic dries very quickly, so we were able to coat the base and table top all in one go.
We alternated between the base and top until all coats were applied.

*Also, between all coats of stain and polycrylic, we made sure to gently dust, wipe, and sometimes vacuum, the surface to make sure nothing got trapped between the coats.


Carolina BalloonFest 2014


After 3 years of missing this Festival,
 that takes place every year in Statesville, NC
around the middle of October, 
we finally made it!

BUT it was not such an easy feat this year!
It took us 3 hours in traffic, and about a mile walk in just to get there.
At least it was a gorgeous Autumn day to be out.  
Not a single cloud to be found...

Then we received the unfortunate news that the balloons would not be flying due to "wind".
Since we were starving and needed to stretch our legs,
we decided to stick around anyway.

And fortunately, the balloons did inflate and start to glow around dusk. :)
We got lucky.


MAYBE next year we'll see them fly.
Although, in all honesty, I'm not sure the traffic, food, or variability of the weather is worth it.
I think with some more planning and experience 
we will do what we saw many other brilliant people doing...
Packing a cooler, some chairs, and finding a good vantage point 
(away from the festival)
to watch the balloons fly. 


Wednesday, October 15, 2014

Bonus Room | Built in Shelves

FINALLY posting this! :) Better late than never. 


This project, though on the list, kind of came on suddenly in August.
I just HAD to do something about the empty nook, 
and during a "quick" trip to IKEA, 
I had a fateful encounter with the IKEA Kivik Chaise Lounge. 

I couldn't get the lounge out of my mind... 
I obsessively stalked Craigslist for a good deal and got lucky!
I found 2, for $300!!!! 
The covers were not in good shape, so we got 2 new covers in Dansbo White.
IKEA Kivik Chaise - $350

Thus commenced my speedy pursuit for a cozy reading nook!
Cue the husband and his power tools for assembling the shelves. :)

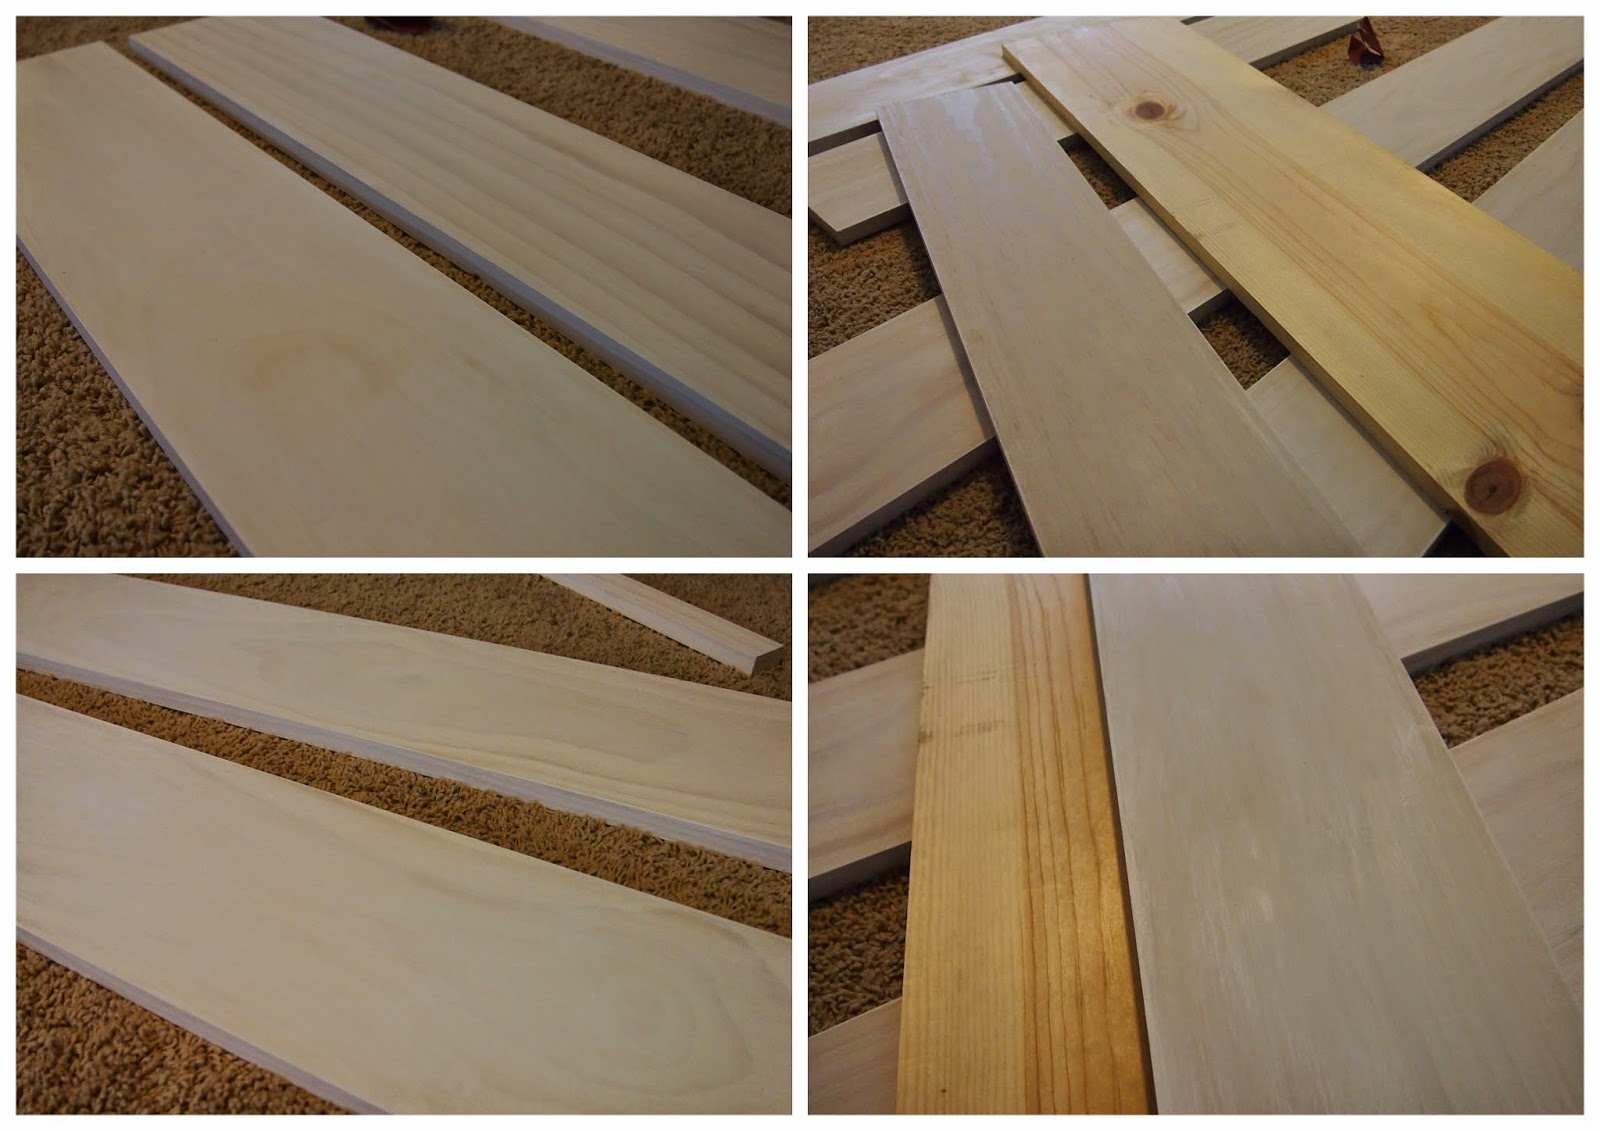
We started by getting some nice pine wood, furniture quality, and 
stained in with watered down paint to give it a white look, 
while still allowing the pretty grain to show through.

I did a 1 part water, 4 parts paint mixture. 
I brushed on the stain in long steady strokes with the grain, 
then wiped it off after a minute.
Pretty much by the time I was done with one, 8 foot, section it was time to start wiping.

Pippa insisted on being in the photos... 
It turned out exactly as I was hoping.  
White, but with the beautiful wood grain still visible.

I love the way the light enters the room.  In the morning (top photo, below) the sun rises directly through the opposite window and you get this beautiful glow.  

Then in the evening (bottom photo) the whole room becomes golden.  


It's now very peaceful and perfect for reading a book, 
doing work at the desk, or practicing some yoga in the middle of the room! :)  

PS- we used the scrap wood from our pergola end cap cuts as the shelf brackets. 
They were the perfect size and shape!


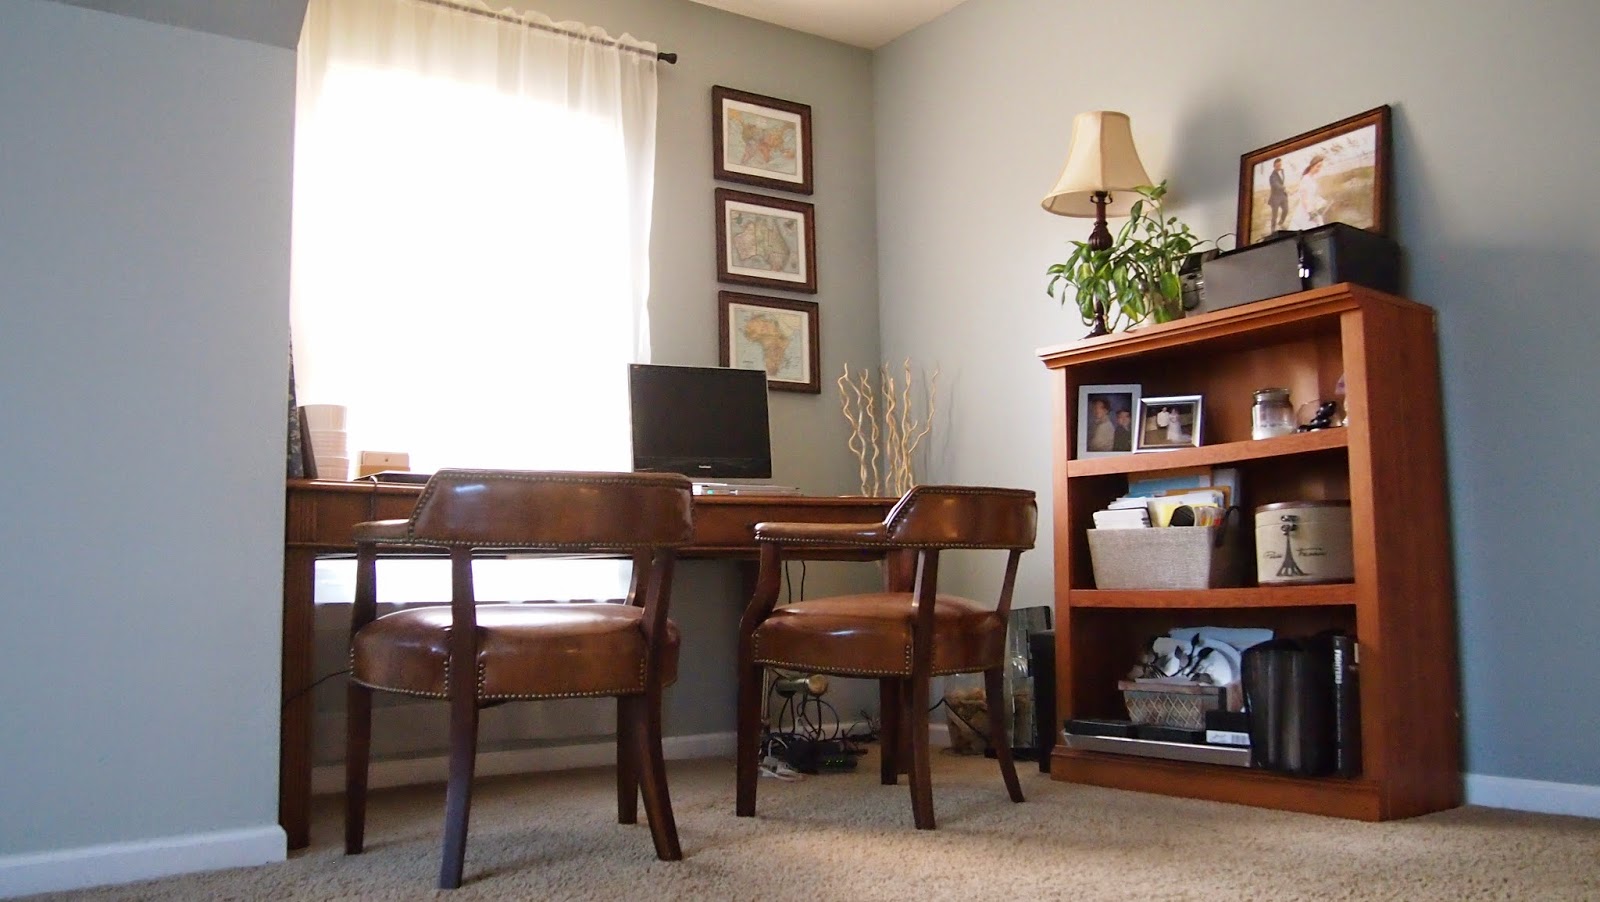
This is the next project nook!  
I will be painting/staining and possibly reupholstering
 the furniture in this corner of the room. 


Here are a few photos from before we painted and decorated.
Taken when house shopping. 


All images and text are property of Rose Spadaro and may not be reproduced without permission. This site is powered by Blogger and was made a little lovelier by The Sunday Studio.