In September, I finally convinced the Mister to help me tackle
some dining room DIYs that I've been dreaming about.
Ever since I saw Ana White's Farmhouse Table design on Pinterest,
I knew that we were definitely capable of building it,
and also that it would save us [some travel] money
instead of buying something similar at Pottery Barn.
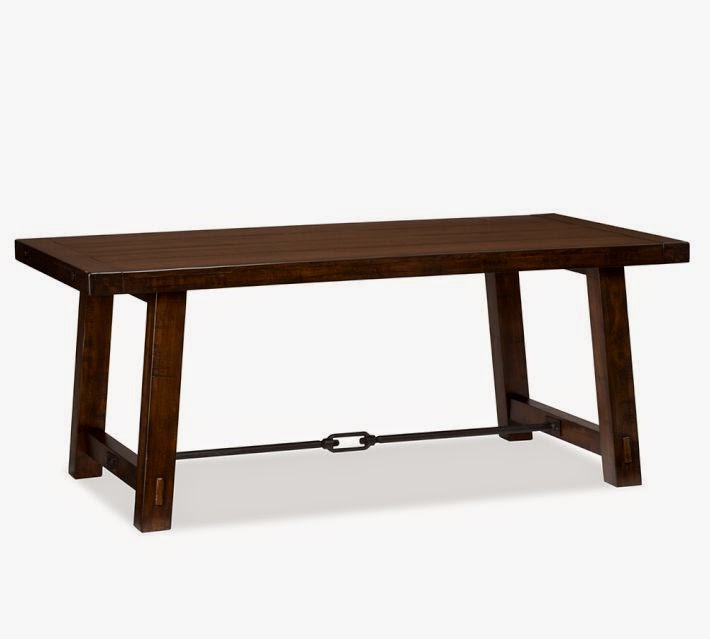 |
| Pottery Barn - Benchwright Fixed Dining Table $1,499 |
 |
| Restoration Hardware - Reclaimed Wood & Zinc Rectangular Dining Table $1,395 |

We took some measurements of our dining room and were surprised to find
that the room is large enough to fit the table dimensions (85x38x30) described in the plan.
Which was surprising because our previous dining table was smaller,
but with the leaf in it didn't allow much space to pass around it comfortably.
Partly because we keep our piano in here, but there really isn't a better place for it...
so, build a new table it is! haha
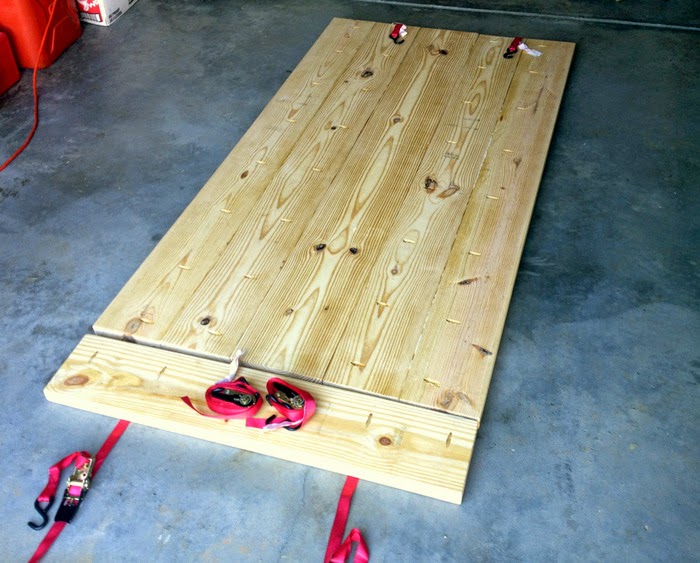 |
| We used straps to hold together the breadboards and middle section of the table while we glued and screwed. |
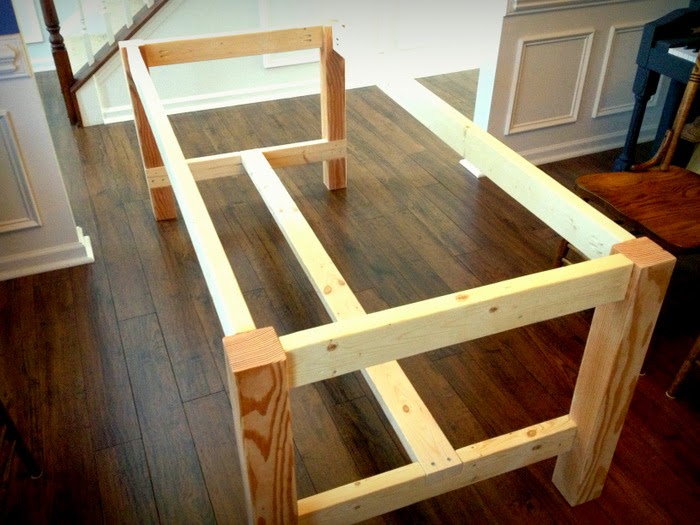
 |
| The base all put together and our lovely little helper. |
 |
| Checking the dimensions. Not necessary, but I like a visual. :) |
 |
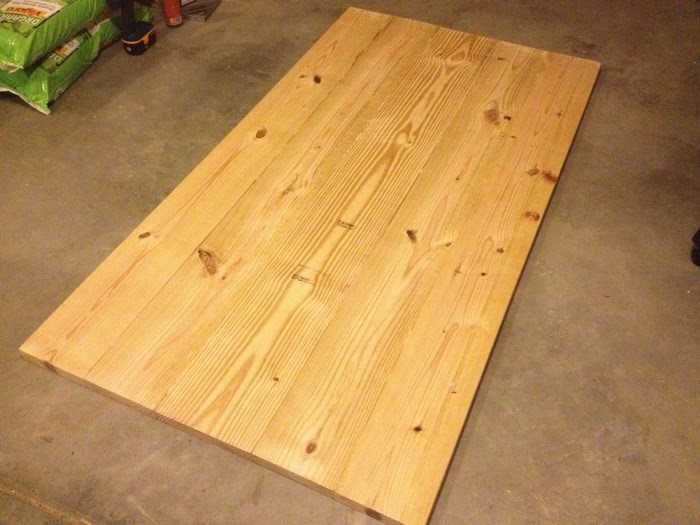
| We used wood filler between the planks and in the deep knots. |
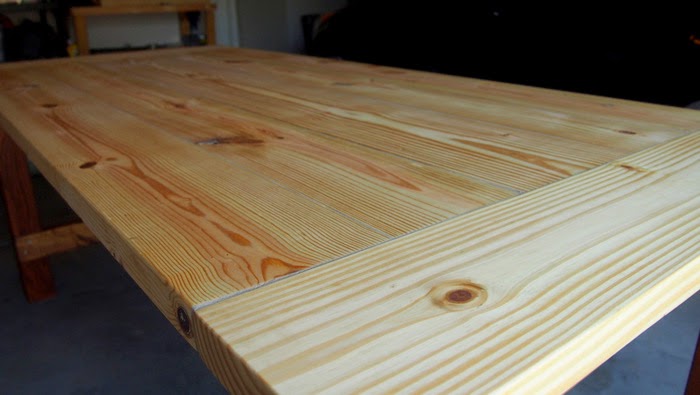 |
| Since we were going for a more finished look and not so much reclaimed, we loved the how the filler looked after we stained and sealed the top. |

 |
| We sanded heavily and made sure everything was as smooth as possible. |
 |
| Wood conditioner before the stain. |
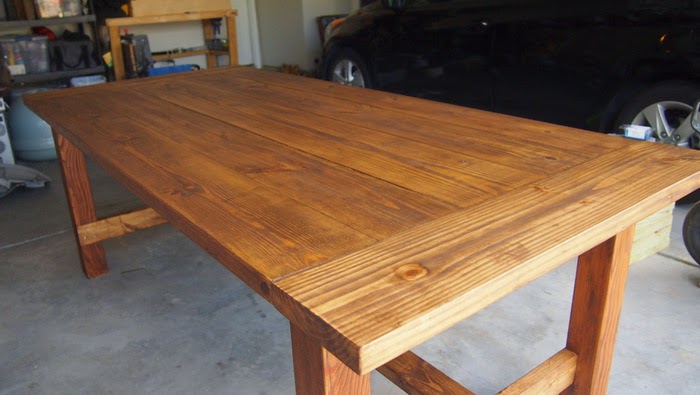 |
| We had some gel stain already, Dark Walnut, but it wasn't dark enough. We ended up using Kona by Rust-oleum and it covered in one coat. |
We finished with 3 coats of Polycrylic.
I meant to use Satin, but ended up using Semi-Gloss.
Eventually, I will re-coat it with a Satin finish.
Click [here] to view the final table.
Based on Ana White's Instructions and Cut List, here was our purchase list:
(figures are rounded)
Heat Treated Wood:
$12 (4) 2x4@ 8 feet
$9 (2) 2x8 @ 12 feet
$6 (1) 2x8 @ 8 feet
$8 (1) 2x10 @ 8 feet
$55 | (1) 4x4 @ 10 feet **
**This was difficult to find. We couldn't get it at Lowe's or Home Depot,
but found a small local wood yard.
Other Materials:
$9 | Rust-oleum Kona Wood Stain
$18 | Minwax Polycrylic
$10 | (2) Pocket Hole Plugs
$4 | 3" Foam Trim Roller
$8 | (2) 2.5" Pocket Hole Screws
$6 | 3" Wood Screws
Total Cost - $145
A note about our finish:
Step 1: Apply the wood conditioner with lint free rag. Make sure to wear some gloves.
Wait 15 minutes or as instructions describe.
Step 2: Apply the stain evenly with lint free rag, with the grain. Again, wear some gloves.
With the Kona stain it only needs 1 coat to achieve the level of darkness.
Step 3: We let it dry overnight and applied the polycrylic sealer, 3 coats. We applied it
using the 3" Foam Roller in long rows, with the grain, and then used 3 inch foam brushes
to follow over the row in one long smooth swipe to brush out the bubbles.
We found this method to be very effective in creating a smooth and even coat.
*The polycrylic dries very quickly, so we were able to coat the base and table top all in one go.
We alternated between the base and top until all coats were applied.
*Also, between all coats of stain and polycrylic, we made sure to gently dust, wipe, and sometimes vacuum, the surface to make sure nothing got trapped between the coats.


No comments:
Post a Comment