I'm excited to present a project we finished in October,
but didn't have time to post before we left for our Australia/New Zealand trip.
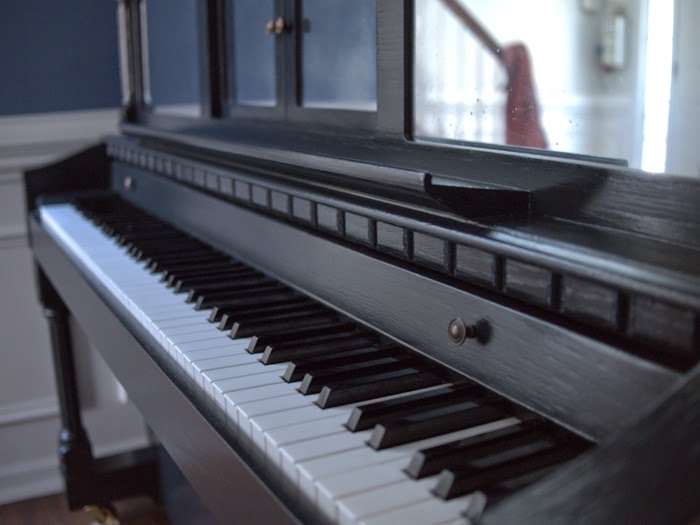
The makeover of our player piano! :)
The honey oak was not working with the other wood tones in our house,
especially since we finished redoing the floors last Christmas.
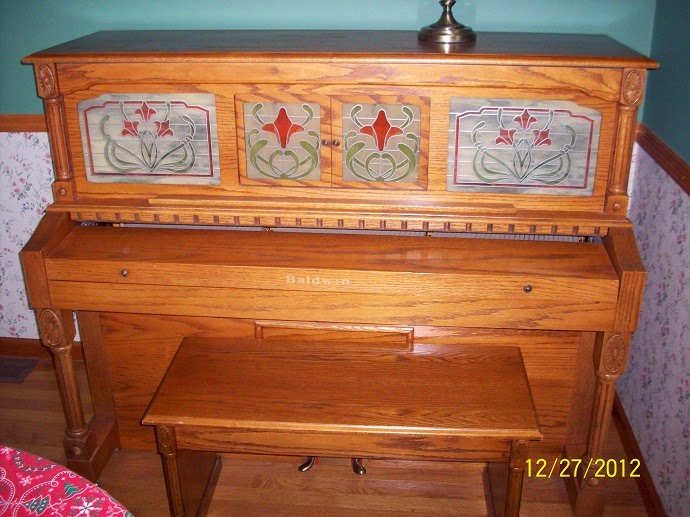 |
| Here is a before picture. Back when it resided in Paul's childhood home. |
I know that a lot of people probably hate the idea of painting over nice wood,
and probably even more so painting a piano,
but it works for us and we are SO pleased with the results!

We started by dissembling the pieces that come apart easily.
Next we made sure everything was dust/hair free [pet's shed so much!].
I researched painting a piano extensively and exhaustively!
Some people sanded and stripped their piano, then primed, painted, and finally sealed it.
This just seemed like more than I wanted to take on.
Others I saw taped off the keys and other areas that needed to stay paint free,
and then primed the piano with a spray paint primer,
Then they painted and sealed the final coat.
Again, this seemed like a lot of work.
I knew there had to be an easier way.
I had been reading a lot about chalk paint,
Annie Sloan, DIY with plaster, etc...
and it seemed possible that I could paint our piano with 2 thin coats,
WITHOUT priming!
YES! This seemed like the way to go! :)
 |
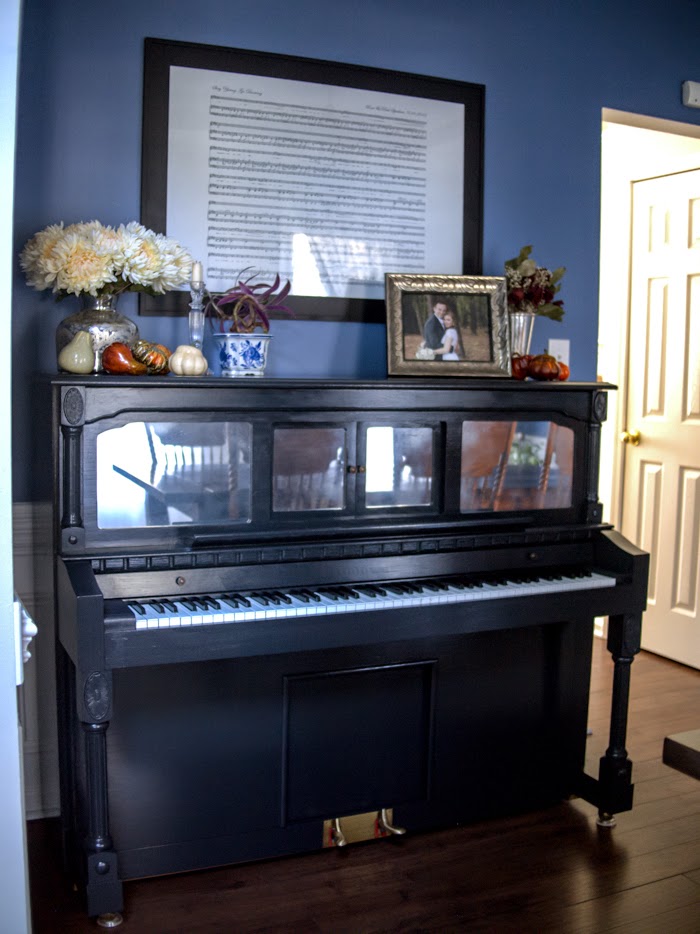
| Closer look at our framed sheet music of our wedding song. :) |
I went to a local antique store and picked up some
Annie Sloan Graphite paint.
Then swung by Michael's and picked up some India Ink.
(I had read that if I mixed the ink into the chalk paint I could get the Graphite color a little darker).
It worked out well, though I do warn that it was messy!
I suggest a bigger container to mix in.
I decided it would be best to paint the piano bench first,
since any mistakes or regrets would be minimized.
Luckily, we loved how it turned out, and went ahead painting 2 coats on the piano.
We finished by applying 2 coats of polycrylic,
instead of the wax, since we wanted the top coat to be as resistant as possible.
The next part of this project was replacing the "stained glass" inserts,
that no longer matched the piano and also did not match our decor.
We thought about getting some real stained glass made to replace them,
but since we were eager to get this project wrapped up,
we opted to cut our own glass inserts and give them an antiqued mirror effect
with Rust-oleum's "Mirror Effect" spray paint and a Clear top coat.
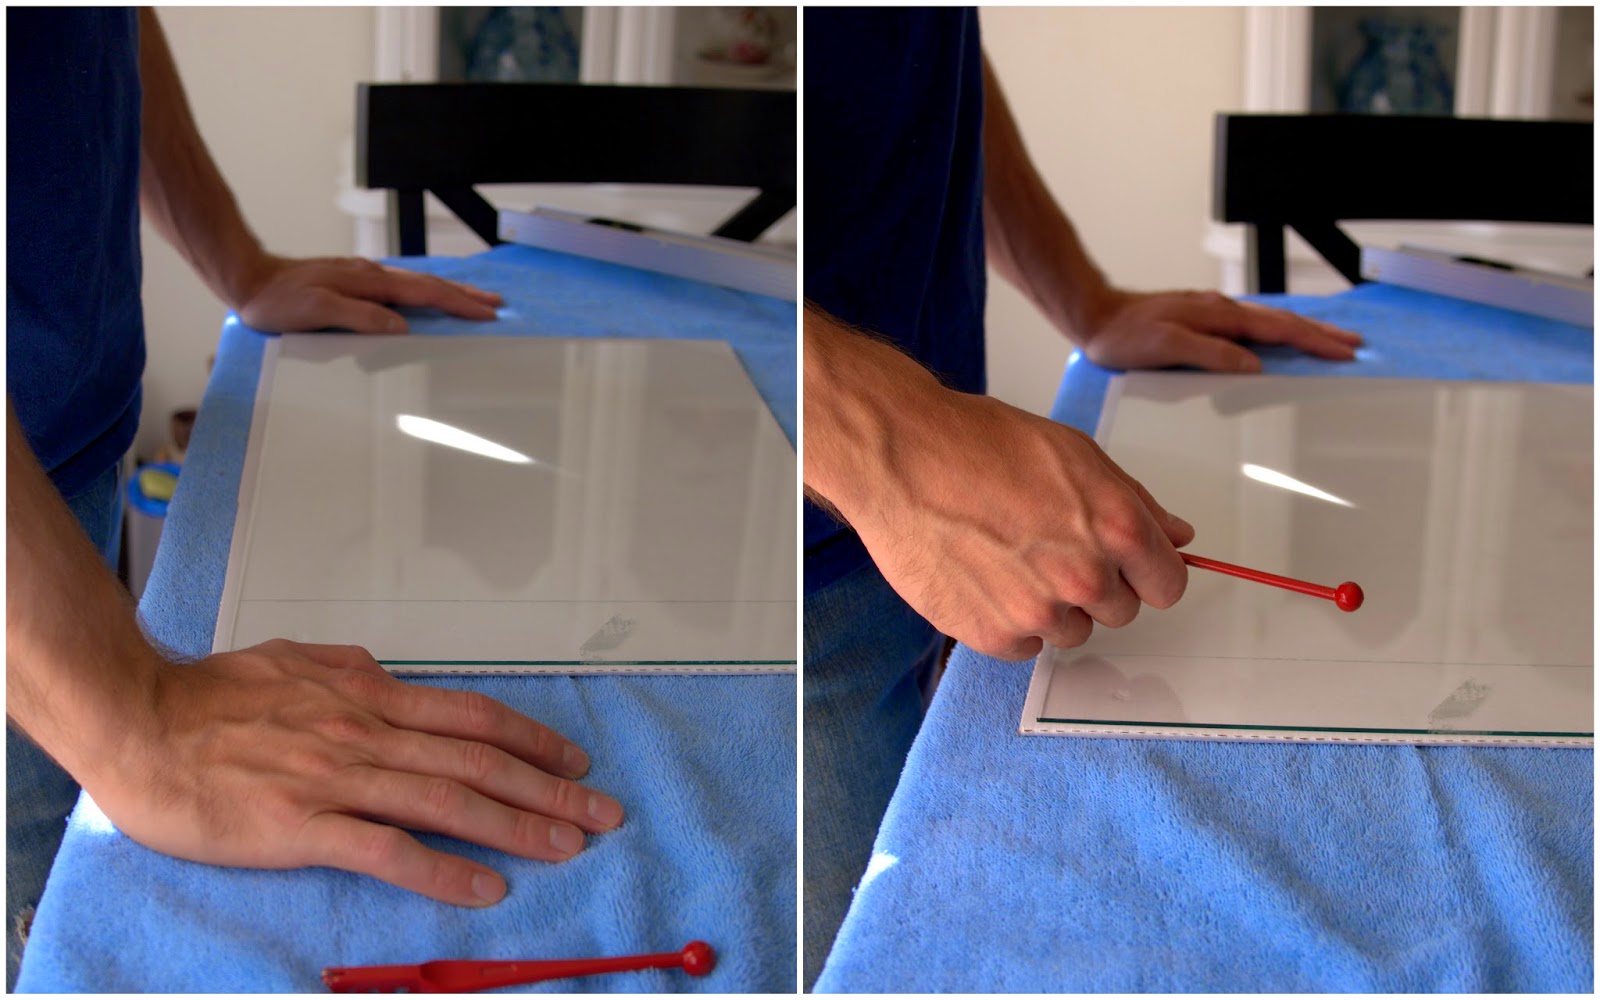 |
| Cutting the glass was the most difficult part, and I bet Paul could write a full post on everything he learned! "Simply", score the glass, tap evenly down the line, and then break over a straight edge. Easy as that...haha |

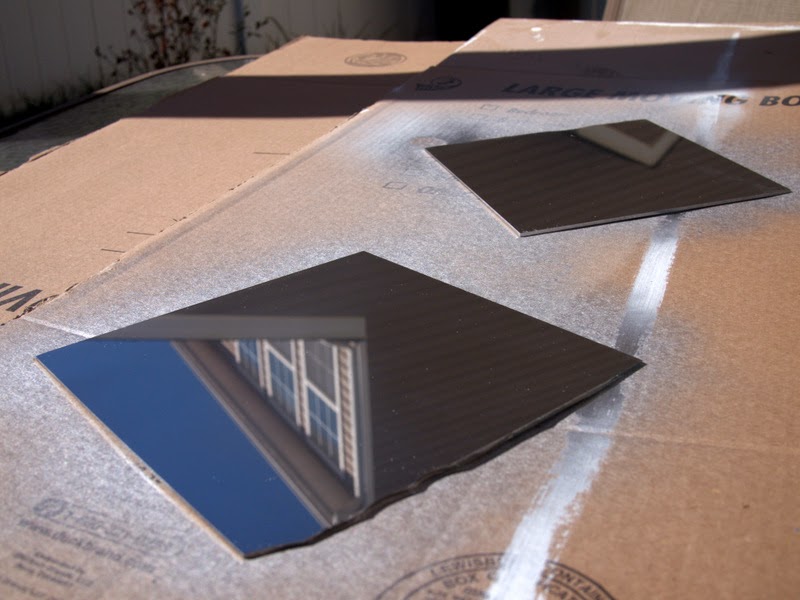 |
| It comes out very reflective and just like a mirror. We ended up wanting something that looked a bit more vintage, so we coated the back with a clear poly spray and it gave it a foggy aged look. |

The whole thing was ready in time for Halloween! :)
The mister played spooky music every time I greeted little trick-or-treaters at the door!
Surprisingly, it wasn't the little ones that were spooked.. it was the teens! haha