When you come home from a trip to find that your husband finished one of your projects for you...❤!!!
Yes, my husband is a keeper.
Last Monday, I came back from a trip to NY to visit family, and I did a double take when I walked into the kitchen. The wine cabinet project that I had left 75% of the way completed, was finished!!!
{Happy Dance!}
Since we moved into our home 2 years ago, I have been planning this project, and in August finally decided to just go ahead and have at it.
On one of my Friday's off, I woke up and found where we keep our handsaws, then proceeded to climb on top of our refrigerator and remove the cross piece of the cabinet. :) All the while, the Mister is laughing and trying to get ready to leave for work. Just a normal scene from our daily lives. Haha!
Anyway, that weekend we got everything prepped, primed, cut, sanded, and fitted. It sat like this for another week, until I was able to caulk the seams... but then I noticed that the front pieces of wood were overhanging the cabinet ever so slightly, which meant we needed to do quite a bit more sanding... have you ever gotten to this part of a project where you are SO close to being finished, only to then require another few hours of effort to seal the deal? Well, occasionally, when this happens, especially on a Sunday, I just need a break.
So the project sat, and sat, and well... lucky for me it *magically* got finished while I was out of the house. AND, there was not a speck of sanding dust to be found. Only a beautifully finished wine cabinet that looks like it could use a few {several} more bottles!
Aside from the minor issue with the fit, this project was pretty simple.
Materials:
5/8" Plywood
1"x 2" boards (we had some extra from another shelf project)
Caulk
Primer
Paint
Tools Used:
Miter Saw
Brad Nailer
Orbital Sander
Project Total: $30-35
Here were our construction steps:
- Remove cabinet doors, shelf, and cross piece.
- Clean cabinet interior
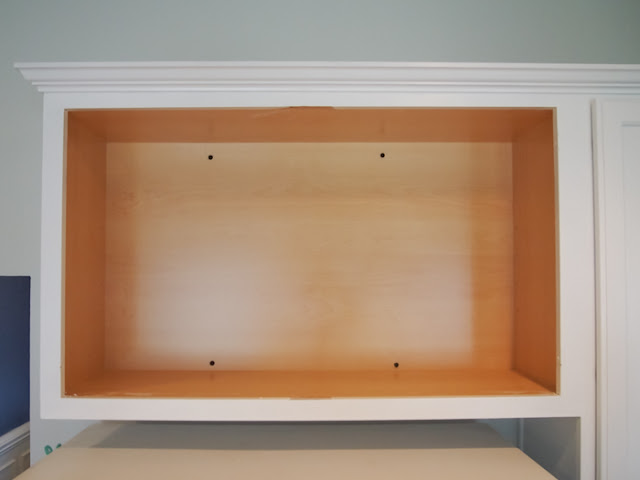
- Prime cabinet (2 coats)
- Paint cabinet (2 coats) Let this dry completely before assembling the wine shelves. If the paint has not thoroughly cured, it will peel.
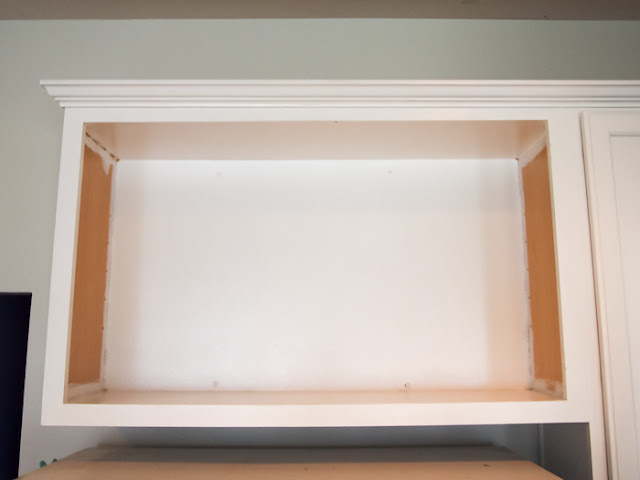
- Cut the three vertical shelves from the plywood. We put one vertical piece of wood in the center to divide the cabinet space and make two X shelves for wine. We used two additional vertical pieces of wood to make the sides of the cabinet flush with the cabinet edges (note: in the image above, the two unprimed sides). This allows the X shelves to slide into place, flush with the edges.
- Sand, prime, and paint, then secure in place with Brad Nailer and Liquid Nail. We used only glue for the side pieces. For the center piece we used liquid nail along the top and bottom and also nailed it into place.
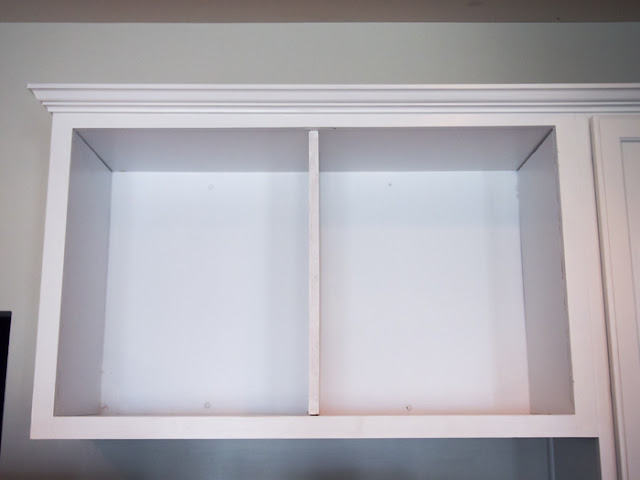
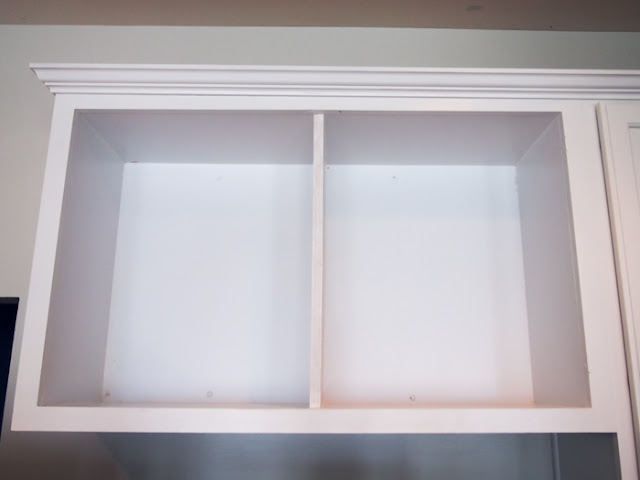
- Once the vertical shelf is in place, measure the length of the cross pieces you will need. We measured and cut our wood to length first.
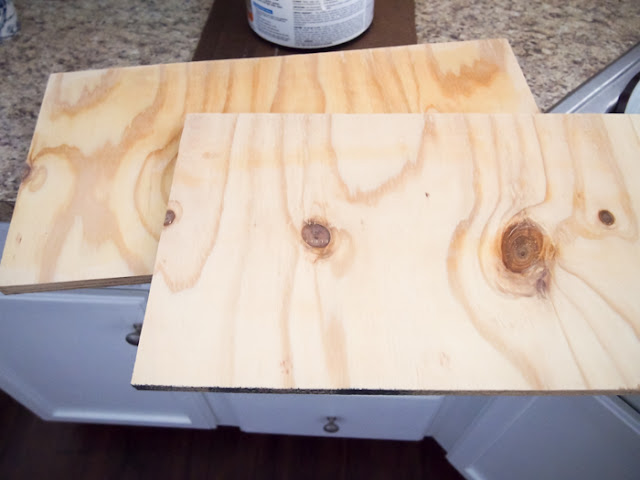
- Next we determined the angle of the end cuts by holding our cross boards up to the edge of the cabinets and marking the boards where they touched (the geometric math only works so well).
- After the end angles were cut, we inserted one piece at a time and then marked the middle of the board where the middle notch needed to be cut. This part is what the experts call "custom cabinetry," which is really a bit of trial and error to make sure you cut and chisel out the space for a perfect fit.
- When all cuts were made we slid all pieces into place to make sure they fit well.
- Prime and paint the cross shelves.
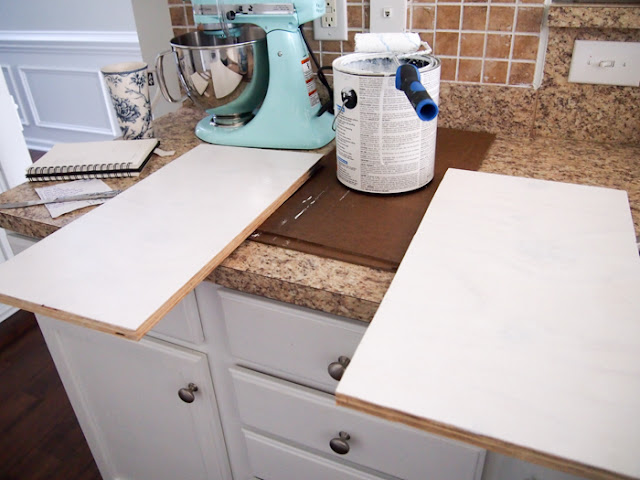
- Insert into the cabinet and caulk all seams.
- Measure and cut the 1"x2" boards to finish the edges.
- Attach edges with Brad Nailer
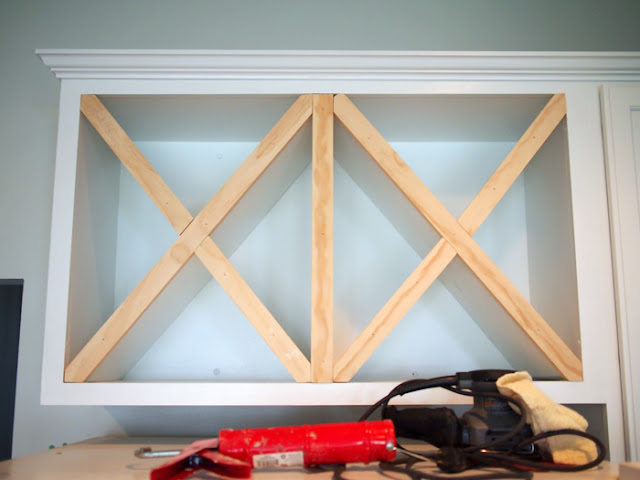
- Fill holes with caulk.
- Paint one last coat to cover the caulk seams and edges.

I'm so happy to have this project finished and also to have a new place that's out of the way to store some wine! It's great to gain a bit more counter space. Time for some entertaining! ;)


No comments:
Post a Comment